Nero Tapware
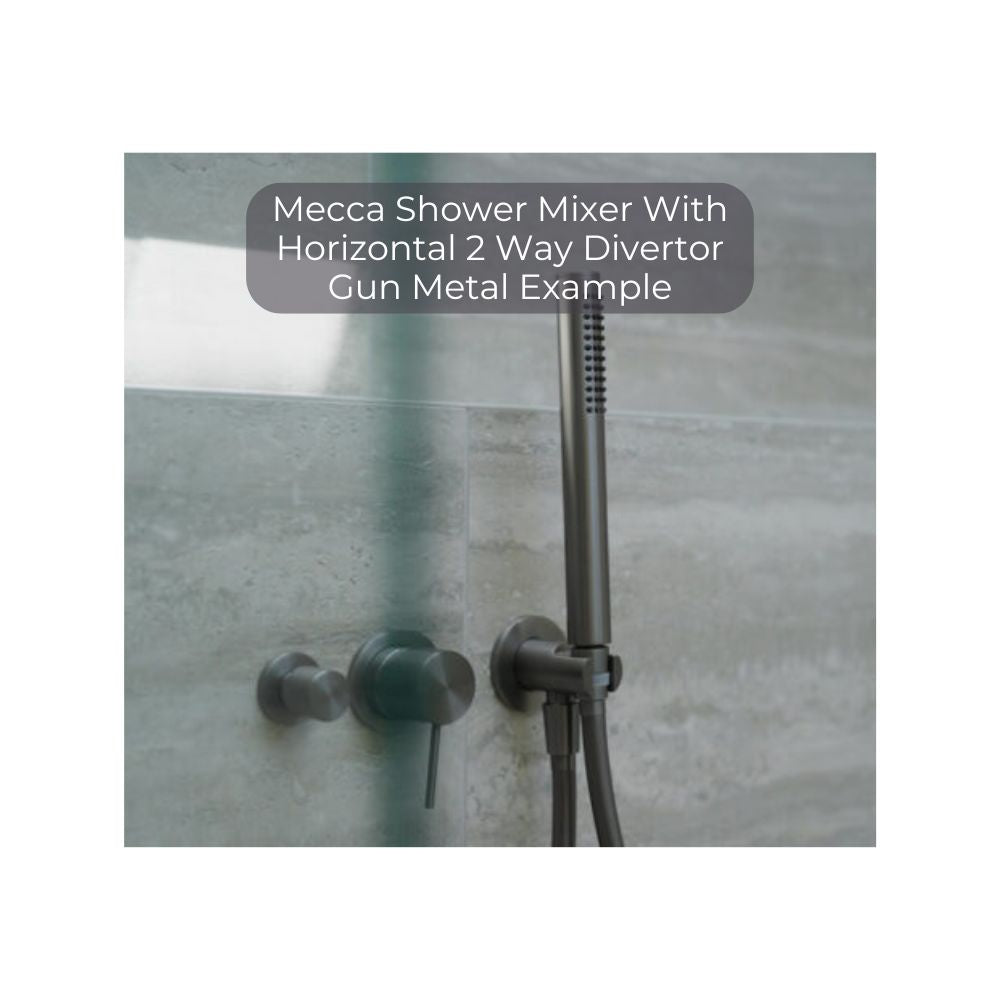
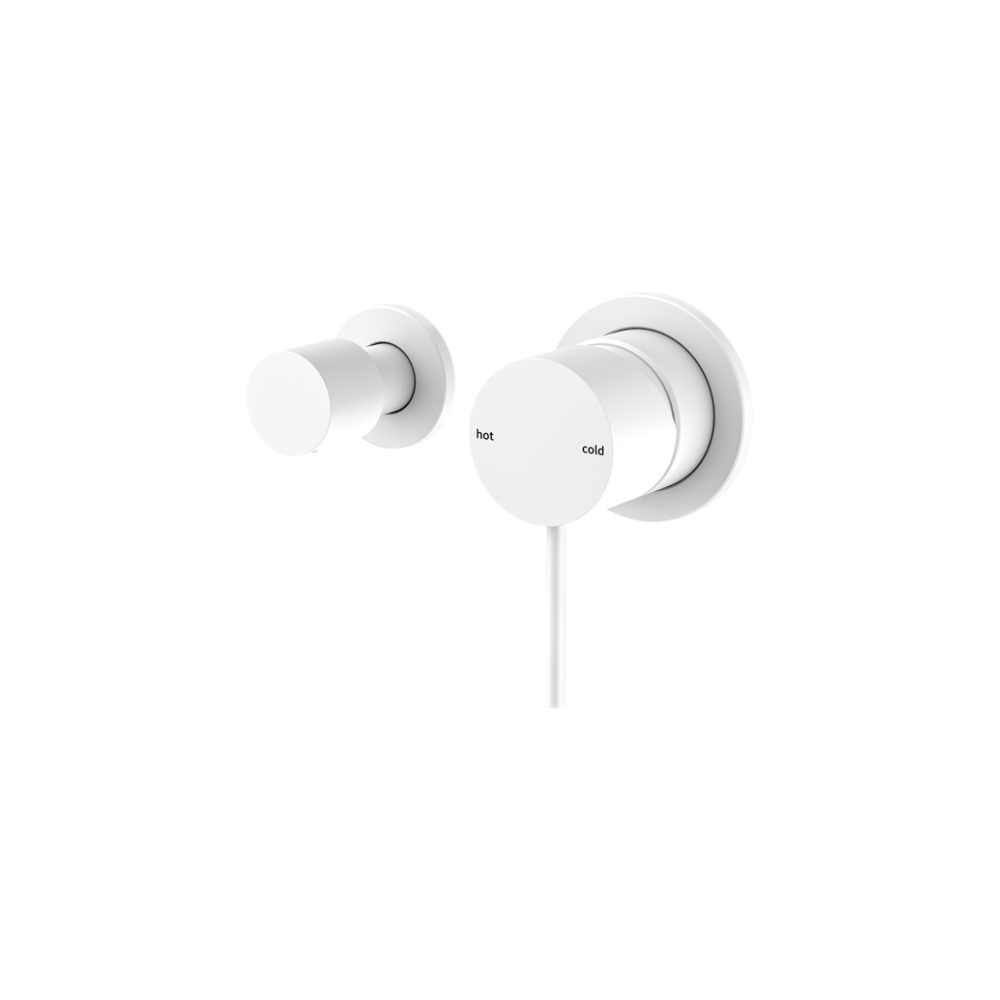
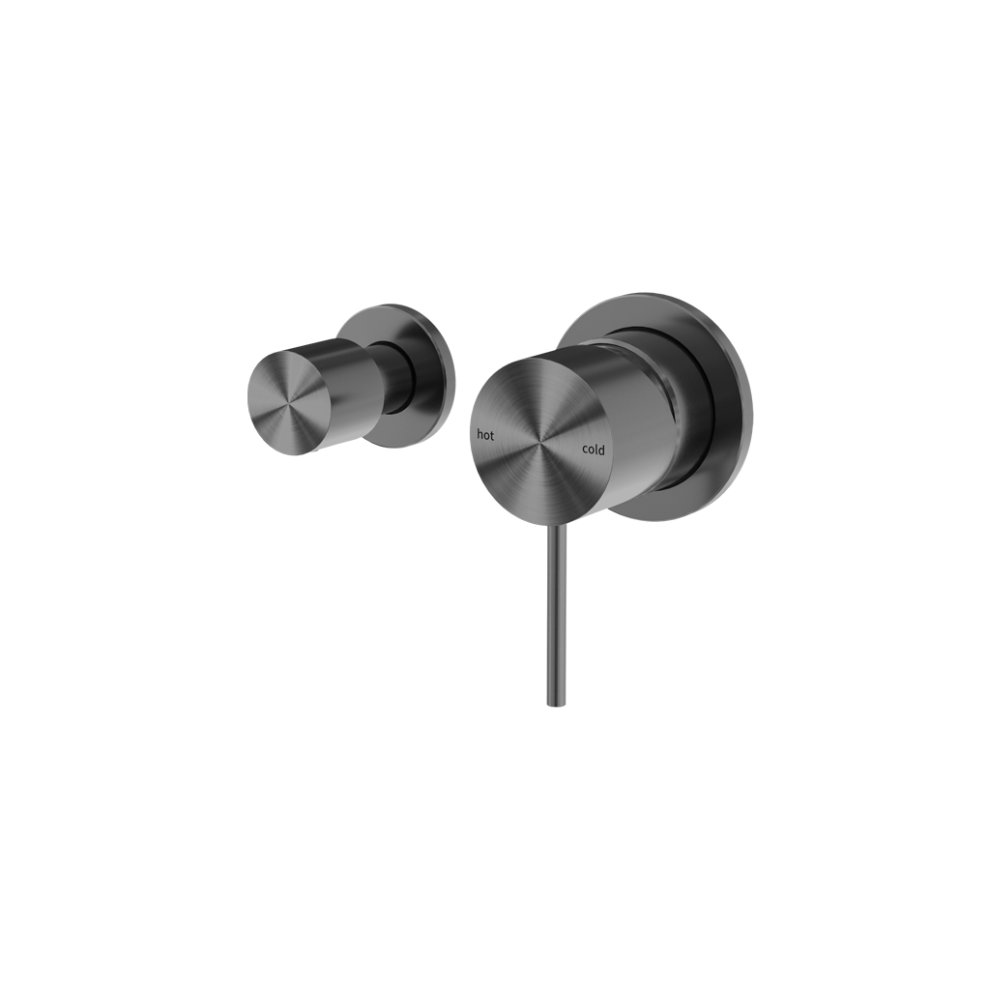
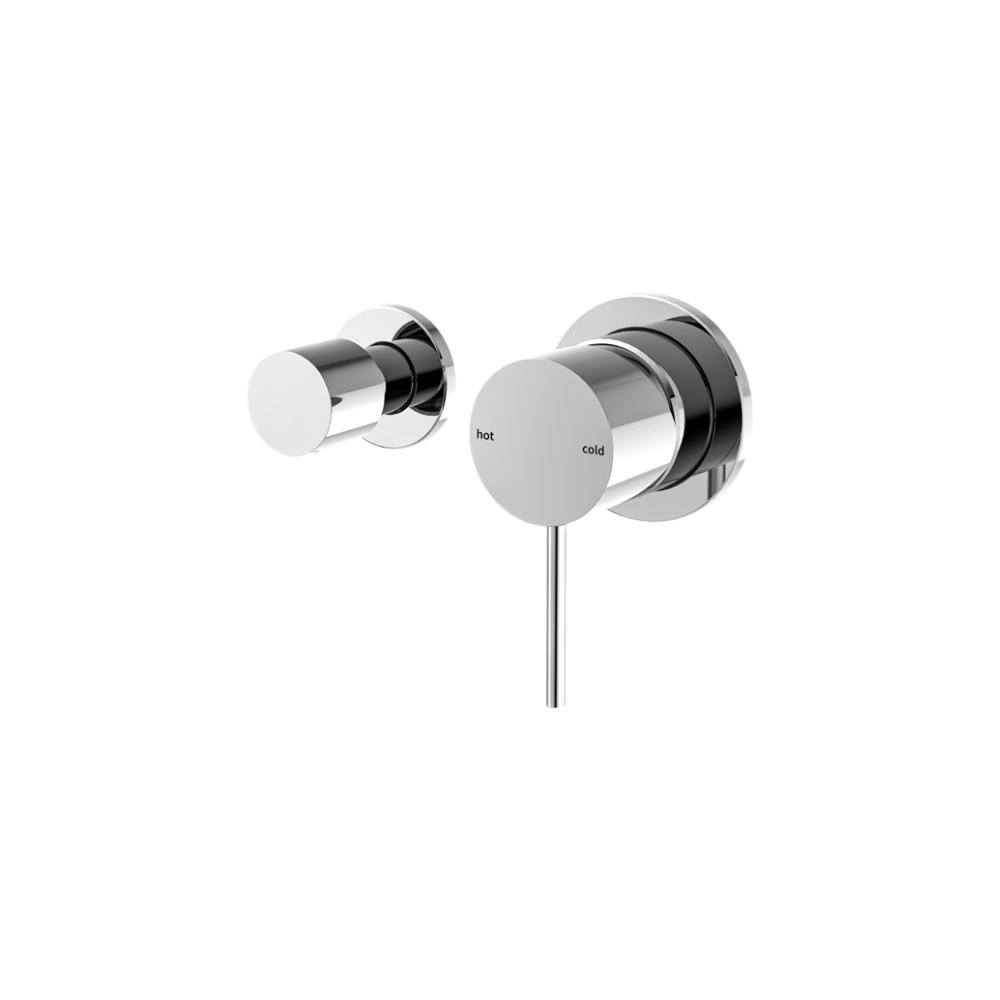
Mecca Shower Mixer With Horizontal 2 Way Divertor Chrome - NR221911UCH
Need a Quote?
Generate a quote for this product by adding your email below OR generate a quote based on all items in your cart
Create Quote
- 35mm ceramic cartridge can be adjusted to control water temperature and flow control setting, saving energy
- Shower mixer with quarter turn divertor defaults to bath spout/shower
- Metal wall plate construction for longevity
- Body inlets – ½ BSP female
- Suitable for mains pressure installation
- Wels rating not required
- Replaceable trim kits
- Packed Separately (Body and Trim Kits)
- Material: Brass
Description
- 35mm ceramic cartridge can be adjusted to control water temperature and flow control setting, saving energy
- Shower mixer with quarter turn divertor defaults to bath spout/shower
- Metal wall plate construction for longevity
- Body inlets – ½ BSP female
- Suitable for mains pressure installation
- Wels rating not required
- Replaceable trim kits
- Packed Separately (Body and Trim Kits)
- Material: Brass
Install Advice:
Installation Instruction for Body Only:
1. Secure the mixer body to the nogging, ensuring an installation depth is 58-75mm from the nogging to ceramic tile.
Caution: Do not remove plastic sleeve from the mixer body.
2. Connect the cold and hot water supply lines and perform a leak test.
3. Drill a φ50mm and a φ40mm hole in the plasterboard for mixer body, and then position plasterboard.
4. When the installation depth is 58-70mm, make the plastic sleeve 2-4mm from ceramic tile surface to body, when the installation depth is 71-75mm, make the plastic sleeve 4-7mm from ceramic tile surface to body. Then waterproof the gap between the plasterboard and body.
5. Remove self-tapping screw, washer and plastic sleeve and cut the plastic sleeve from the marked point.
6. Reattach self-tapping screw, washer, and plastic sleeve.
7. Waterproof for the gap the plasterboard and body.
Installation Instruction for Trim Kits Only:
1. Drill a φ50mm and a φ30mm hole in the ceramic tile, then position it.
2. Undo the self-tapping screw to remove the plastic sleeve.
3. Insert the O ring to the dressing bell groove, and slide the cartridge bell onto cartridge and slide divertor dressing bell onto divertor cartridge.
4. Apply waterproof treatment to the area.
5. Tighten up the dressing ring on the cartridge bell.
6. Slide the backplates onto body.
7. Attach the washer to cartridge rod, position the handle, tighten it with a grub screw using an Allen key, and cap the grub screw hole.
8. Put knob onto divertor cartridge, tighten it with grub screw using Allen key, and cap the grub screw hole.