- WELS Rating: 6L/Min, 6Star
- WELS Registration No: T42728
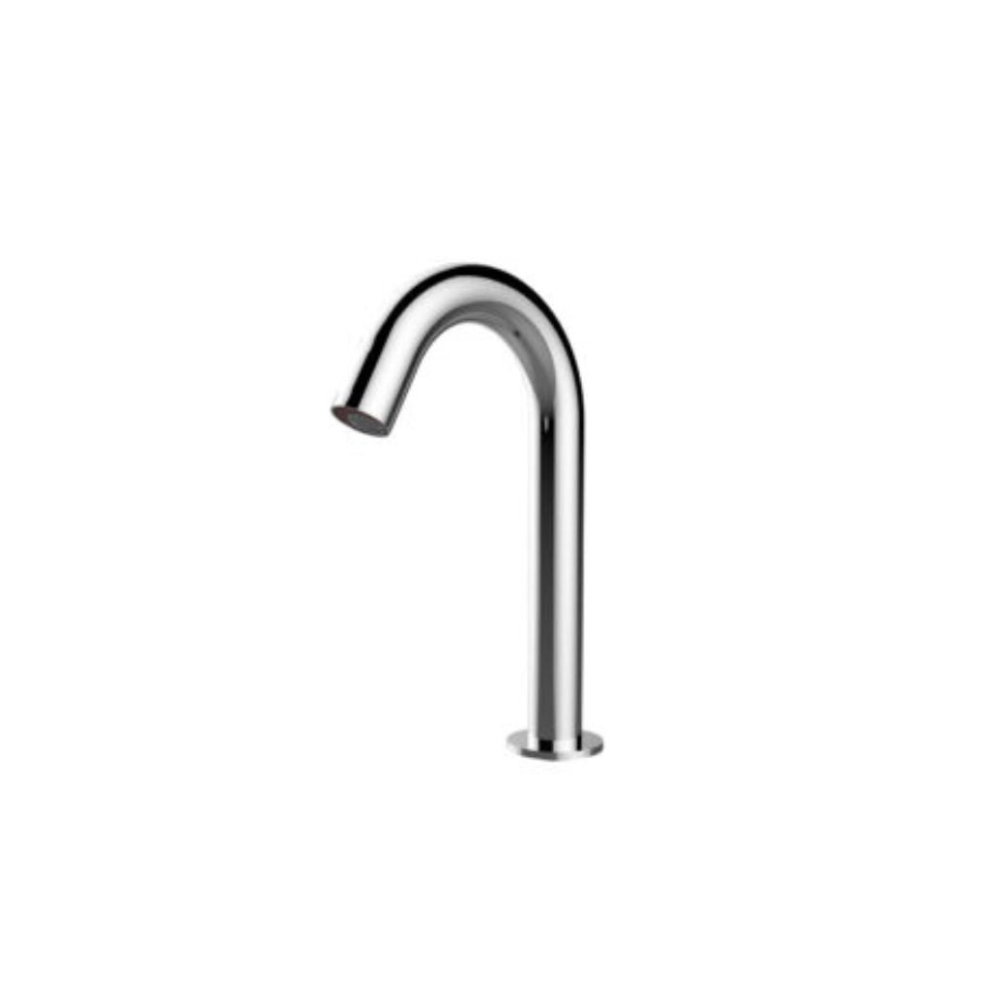
- Electronic basin mount tap single inlet
- Option of main power or battery
- Adjustable sensing distance: 50-150mm
- Material: Brass
Install Advice:
Installation Instruction:
General Note: This product Is to be Installed by a licensed plumber, installation must comply with
AS/NZS 3500 and local plumbing codes
Pressures & Temperatures
Maximum Hydrostatic Pressure - 500 kpa. (As per AS/NZS3500)
Note: AS/NZS 3500.1-2003 (Clause 3.3.4) states that "Provision shall be made to ensure that the maximum static pressure at any outlet, other than a fire service outlet, within a building does not exceed 500 kPa.
Note: Pressures above 500kPa can cause damage from water hammer, reduced life of appliances, taps and fittings, and cause excessive noise in the systerm.
Minimum Hydrostatic Pressure - 100 kpa
The Maximum operating temperature for the Senser Tap is 55°C
Please ensure that the lines are flushed prior to installation as contaminates in the water can damage the flow regulator and also affect the performance of the Sensor.
Safety- DO NOT connect unit to mains power or tum on mains water supply until Sensor tap and control unit is fully installed.
1. Remove product from packaging and check for damages, if the product is damaged do not Install and return to store of purchase.
2. The WELS compliant aerator has been pre-assembled into the tap outlet, To comply with WELS the flow regulator must remain in place.
3. Ensure product is complete as per exploded drawing.
4. A single 35mm hole is required in the mounting surface.
5. Remove Lock nut and thick rubber sealing washer from spout.
6. Put the inlet hose and signal cable through the mounting hole ensuring thin bench sealing washer is in place on the base of the spout.
7. Assemble thick washer and lock nut to spout and tighten.
N.B Spout thread has two flats to allow for spanner engagement to hold spout in place while tightening lock nut.
8. Position Control box on wall considering length of Spout outlet hose and signal cable. Control unit must be within 500mm from Basin.
Using wall toggles supplied or suitable wall toggles and screw to suite wall material fit control box to wall.
Ensure control unit is fixed to a vertical wall in a position away from moisture and is always kept dry.
N.B Control box must be installed with inlet thread to Right, outlet thread to the bottom on a vertical wall, do not assemble in a horizonal position.
9. Fit spout outlet hose lo control box outlet 1/2° BSP thread.
10. Fit Spout Signal cable socket to control box socket. Align ends, push together and tighten socket nut by hand.
11. Connect Inlet Water supply to 1/2'BSP thread on the control box inlet, (right hand side of control box) turn water supply on and check for leaks at all connections.
N.B Stop vaives (preferably with filters) must be used when instating your lap to allow Isolation, AC Mains Power only
12. Connect control box power socket to AC power adaptor. Diagram
N.B If using batteries only push control box socket into rubber protection boot on left side of control box to protect terminal ends.
DC Battery Power only
13. Remove the four screws holding the face plate on the Control box.
Unplug the A4 battery box frorn the control box, remove single screw holding cover on battery box. Fit four AA batteries in battery box.
Reverse process to fit battery box back into control box.
14. Wipe down spout and sensor window situated at the end of the spout.
15. Turn power on if connected to AC power.
16. Hold Red reset button located on the left-hand side of the control box in for 2 seconds to enable sensor in learn the IR distance to the basin.