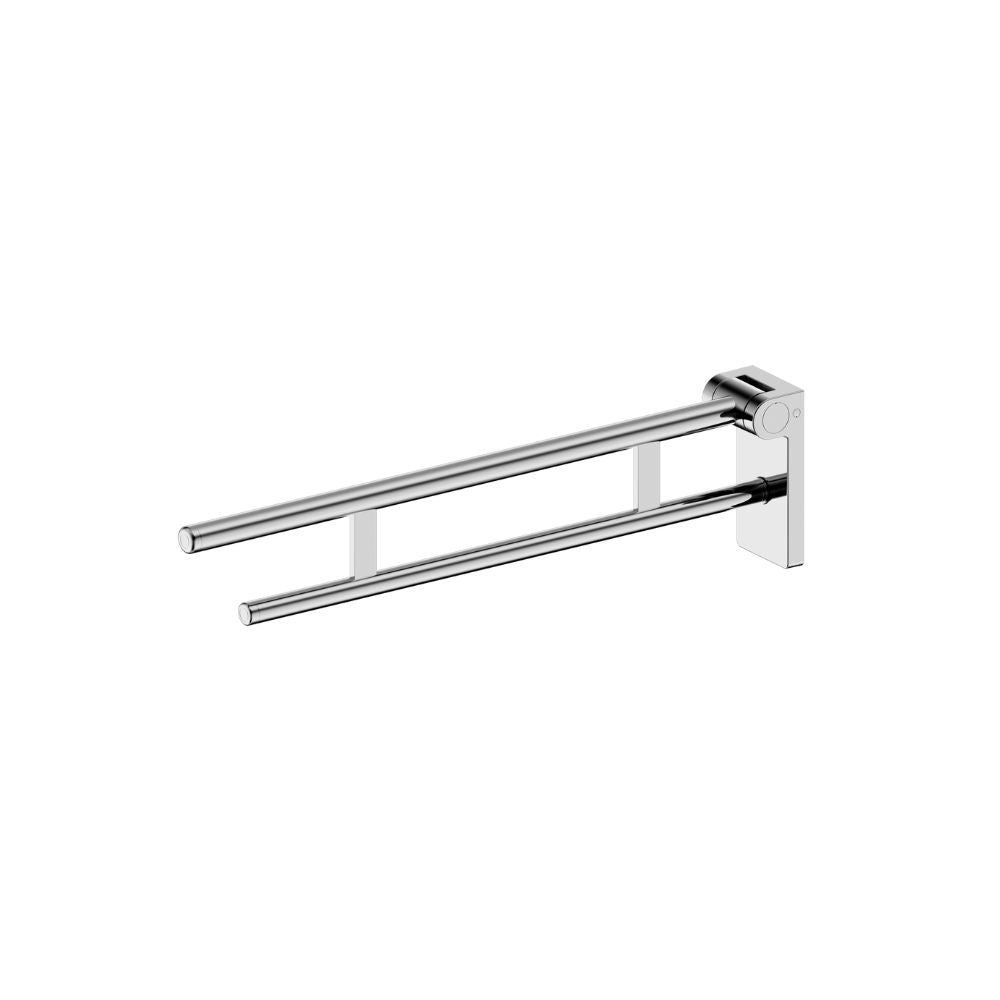


It’s often hard to know where the supports are in the wall. Here’s what you need to know:
• The vertical timber is called the wall studs.
• The horizontal timbers are called noggins.
Since noggins are often not in line, it’s easier to locate the vertical studs once the wall has been tiled using a stud finder.
Installing Your Grab Rail
When installing a grab rail, it’s important to make sure it is positioned at a suitable height and securely fixed to the wall structure.
As a general recommendation for assisted living applications, grab rails are typically installed approximately 800mm from the finished floor level. However, the ideal height can vary depending on the user's height, mobility and the purpose of the grab rail.
Before drilling, consider the position where the user will be standing, sitting or transferring. The grab rail should be positioned so it can be reached comfortably and provide effective support when it is needed.
Installation Steps:
- Use a stud finder to mark the studs.
- Determine the appropriate grab rail height and position. As a general guide, approximately 800mm from the finished floor can be used as a starting point for assisted living applications. Always consider the individual user's requirements.
- Install the grab rail wall brackets.
- Cut the rails to size for a secure fit.


👉When installed into studs, our rails can handle up to 150kg.

Grab Rail Positioning
Grab rails can be installed in different orientations depending on where support is required. Horizontal, vertical and angled rails can each provide different types of assistance.
The positioning of the rail should take into consideration how the user will interact with it. For example, a rail may be used to assist with standing, sitting, transferring in and out of a shower or toilet, or moving safely around the bathroom.
For assisted living applications, it is important to consider both the height and location of the rail before installation. Measuring from the finished floor helps provide a consistent reference point when determining the appropriate position.
Assisted Living Installation Guide
The diagrams below provide examples of recommended grab rail positioning for assisted living applications.


These diagrams can be used as a visual guide when planning grab rail locations and can help installers and homeowners understand how different grab rail configurations can provide support throughout the bathroom.
Always assess the individual user's needs and the specific installation location before determining the final position of a grab rail.
Stud Spacing Guide
Shower wall studs – usually 300mm apart.
Plaster wall studs – often up to 600mm apart.
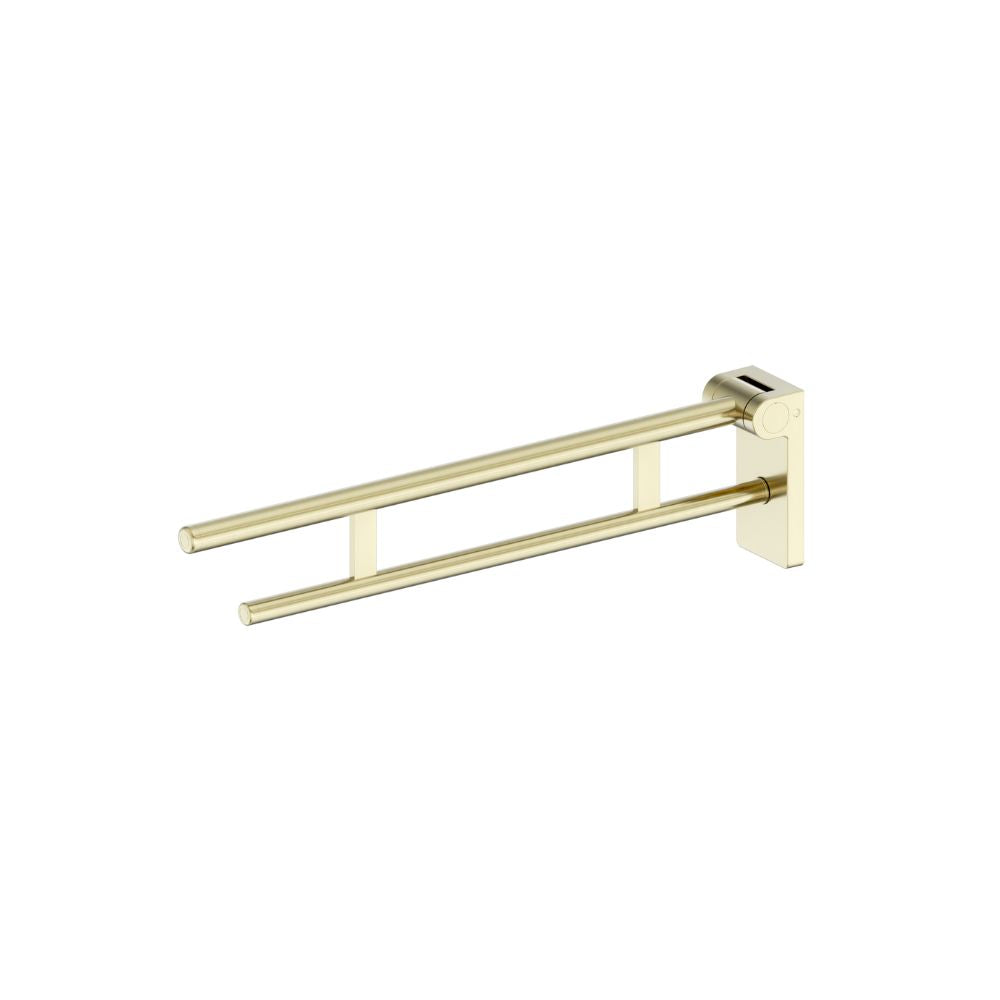
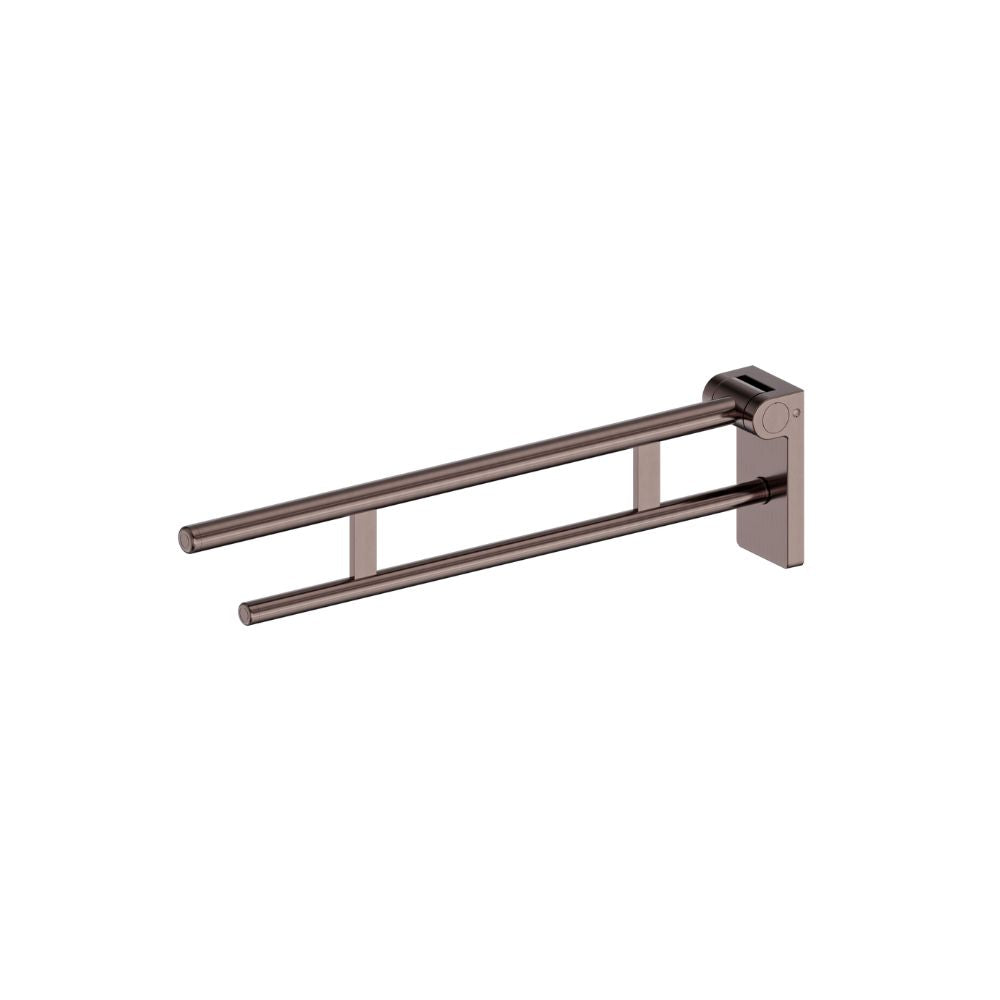
This is where our Calibre rails are so handy! They can be cut to size to suit the stud measurements, ensuring each bracket is fixed securely.
💡 If you are unsure where your studs are located, it’s best to order rails at least 600mm long, so they can be cut down to size if needed.
Plan Before You Drill
Taking a little extra time to identify the wall studs, determine the appropriate installation height and plan the position of your grab rail can make a significant difference to the safety and usability of the finished installation.
Always check for electrical wiring and plumbing before drilling, and ensure the correct fixings are used for the wall construction.
For more information about securely installing grab rails, see our installation guide and assisted living recommendations.