My cart
You may also like
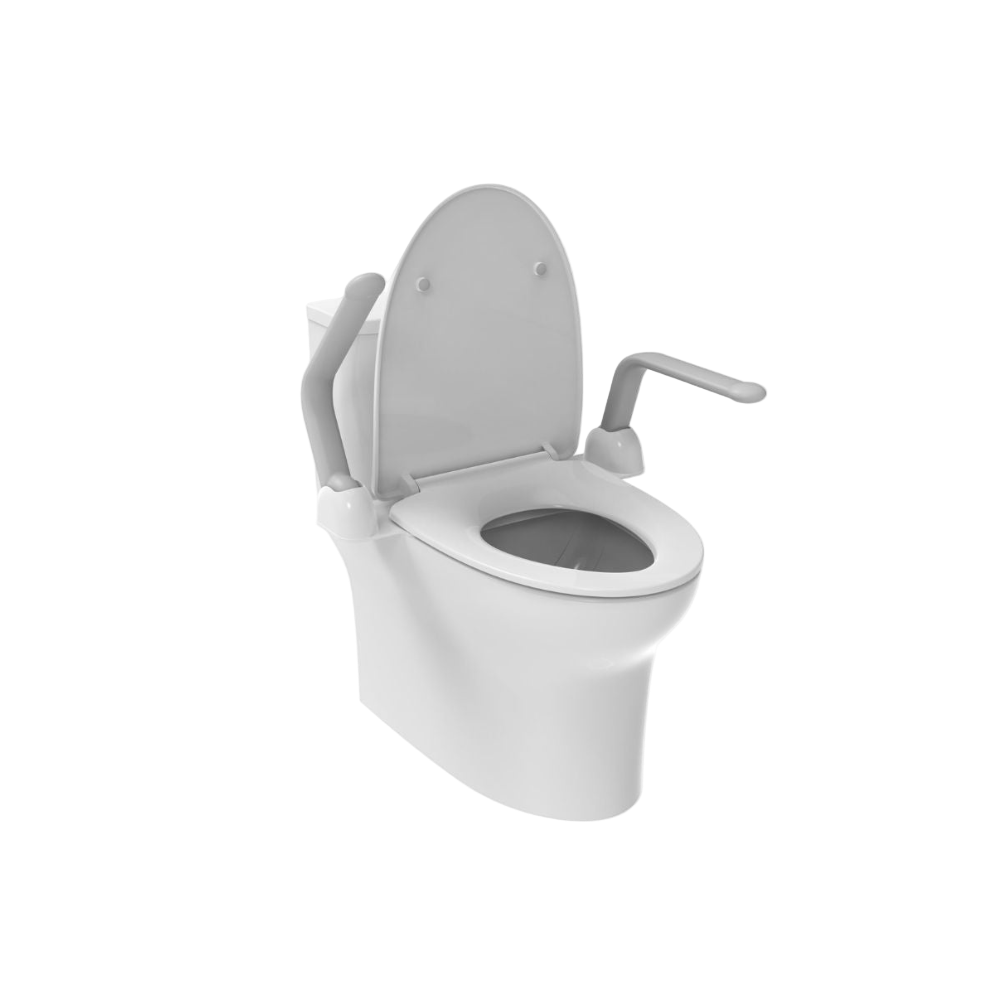
Liberty Toilet Support Arms Fold Up For All Toilets White - S01SAW
Regular price
$298.00
Regular price
$298
Sale price
$298
Unit price
per
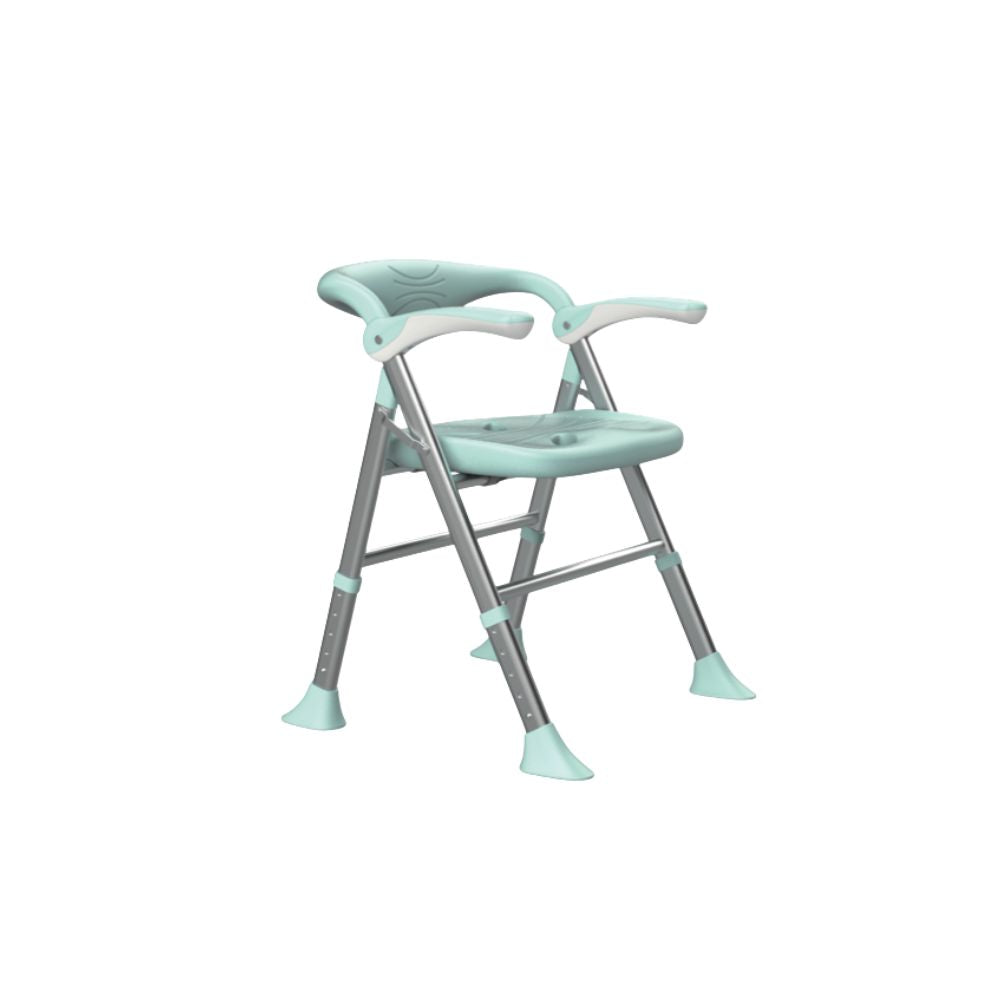
Avail Fold Up Shower Chair Aqua - S03C1 - Stock due mid October
Regular price
$229.00
Regular price
$229
Sale price
$229
Unit price
per
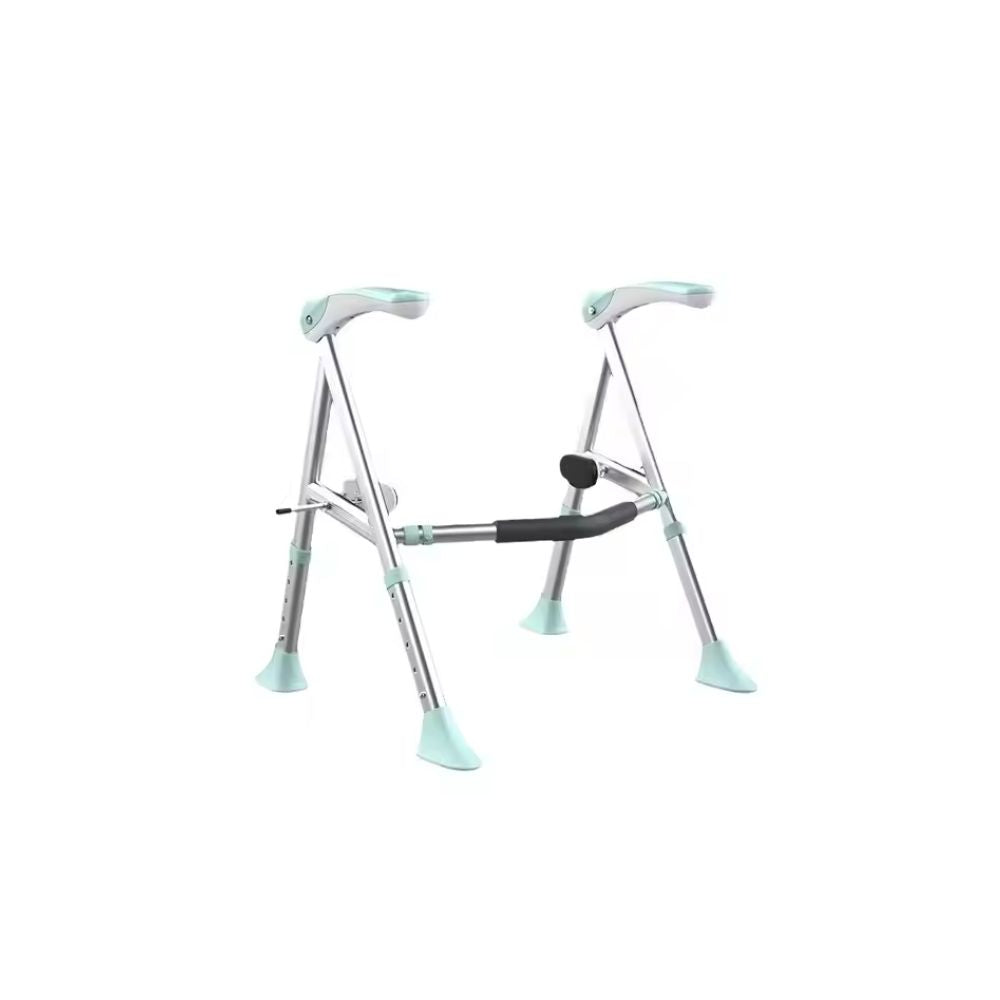
Avail Toilet Support Fold Up Frame Aqua - S03F1
Regular price
$169.00
Regular price
$169
Sale price
$169
Unit price
per
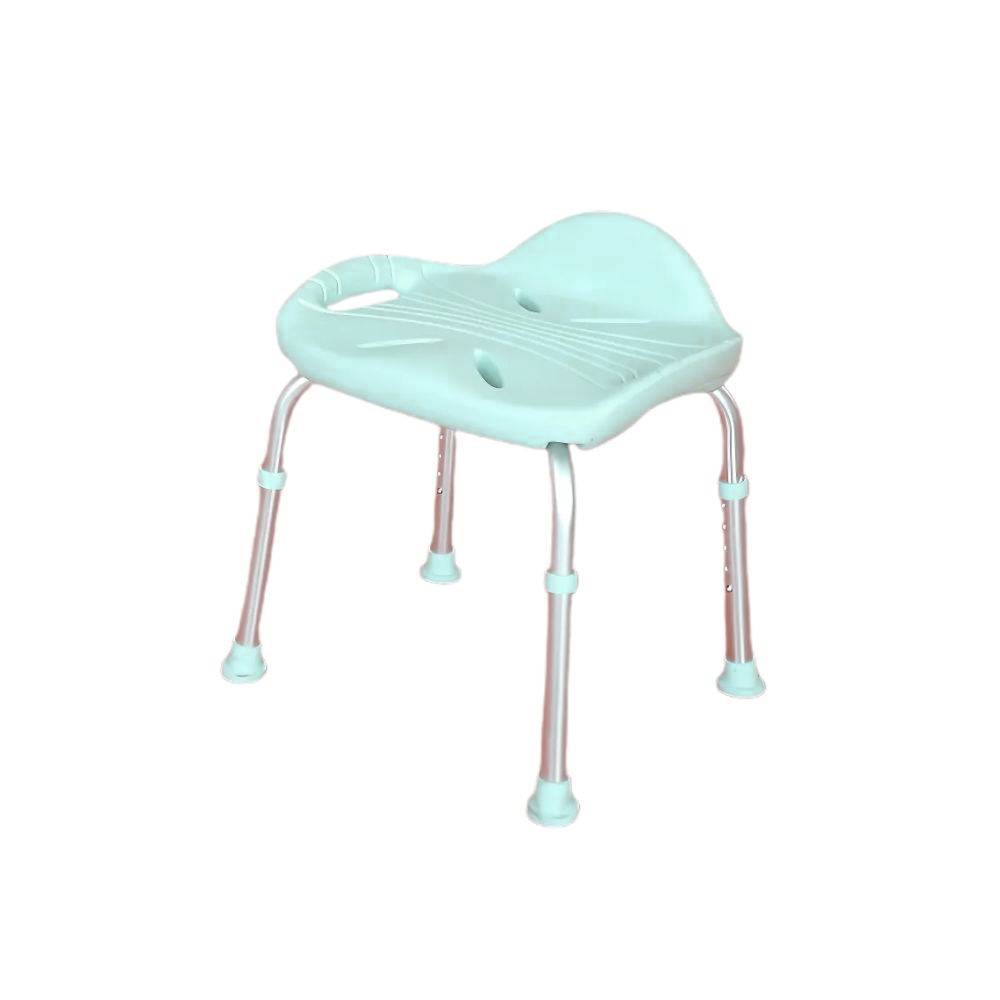
Shower Stool with Handles and Adjustable Legs Aqua - S03C2
Regular price
$96.00
Regular price
$96
Sale price
$96
Unit price
per
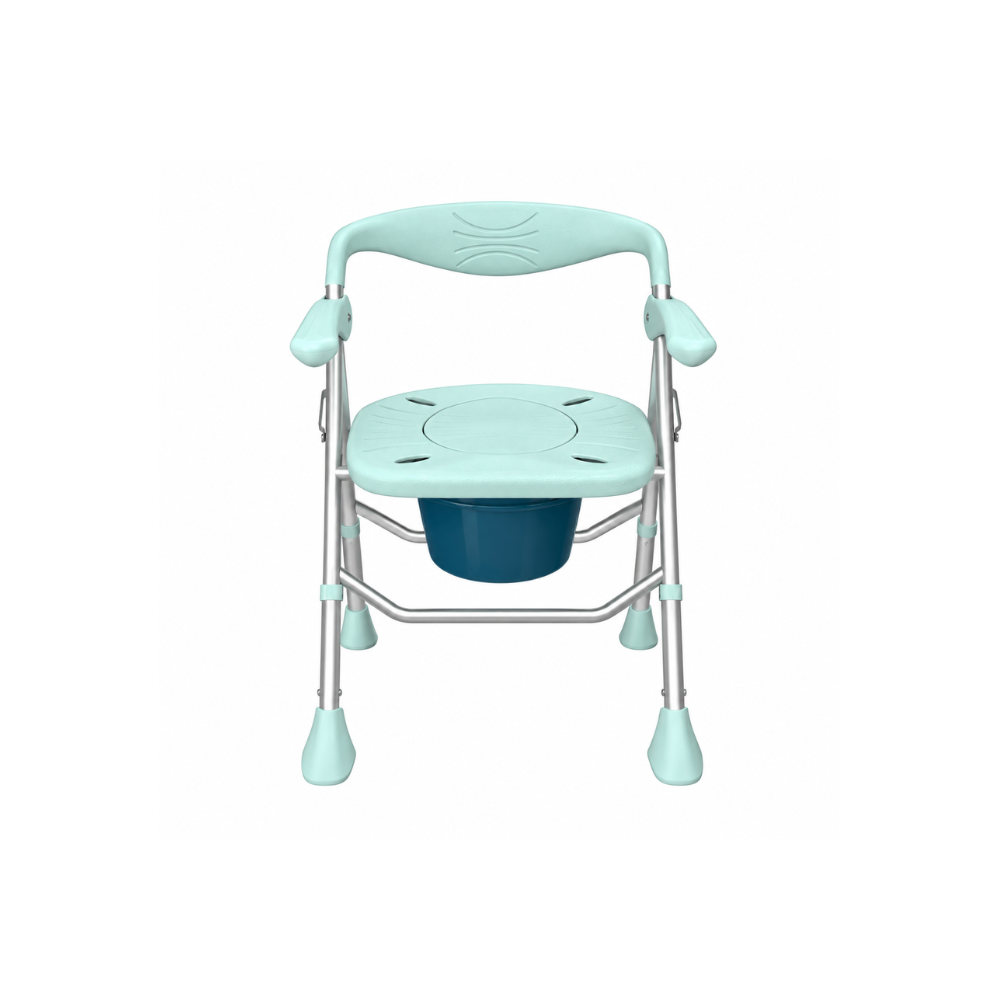
Shower Chair and Bathroom Commode Portable Lightweight Fold Up Aluminum 150kg Aqua - S03C3
Regular price
$249.00
Regular price
$249
Sale price
$249
Unit price
per
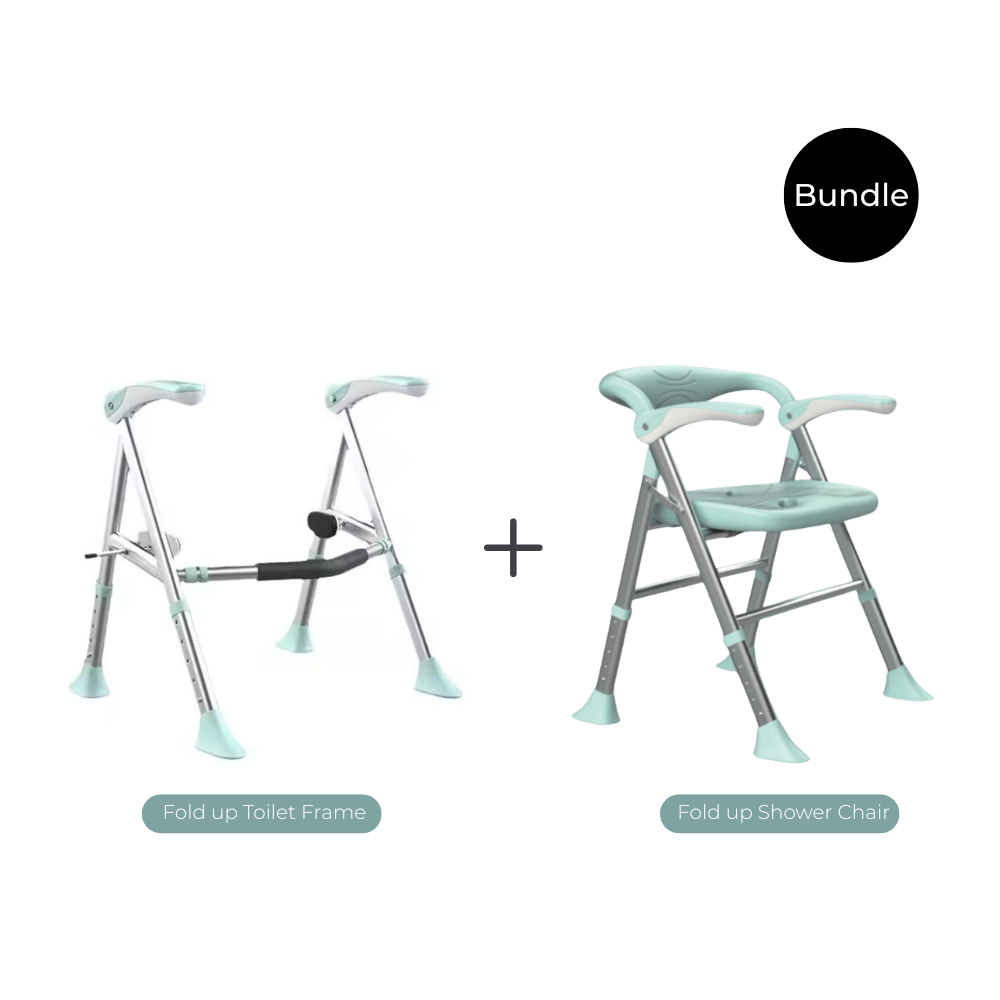
Bathroom Safety Bundle – Fold Up Shower Chair & Toilet Support Frame - S03F1C1
Regular price
$358.20
Regular price
$358
Sale price
$358
Unit price
per
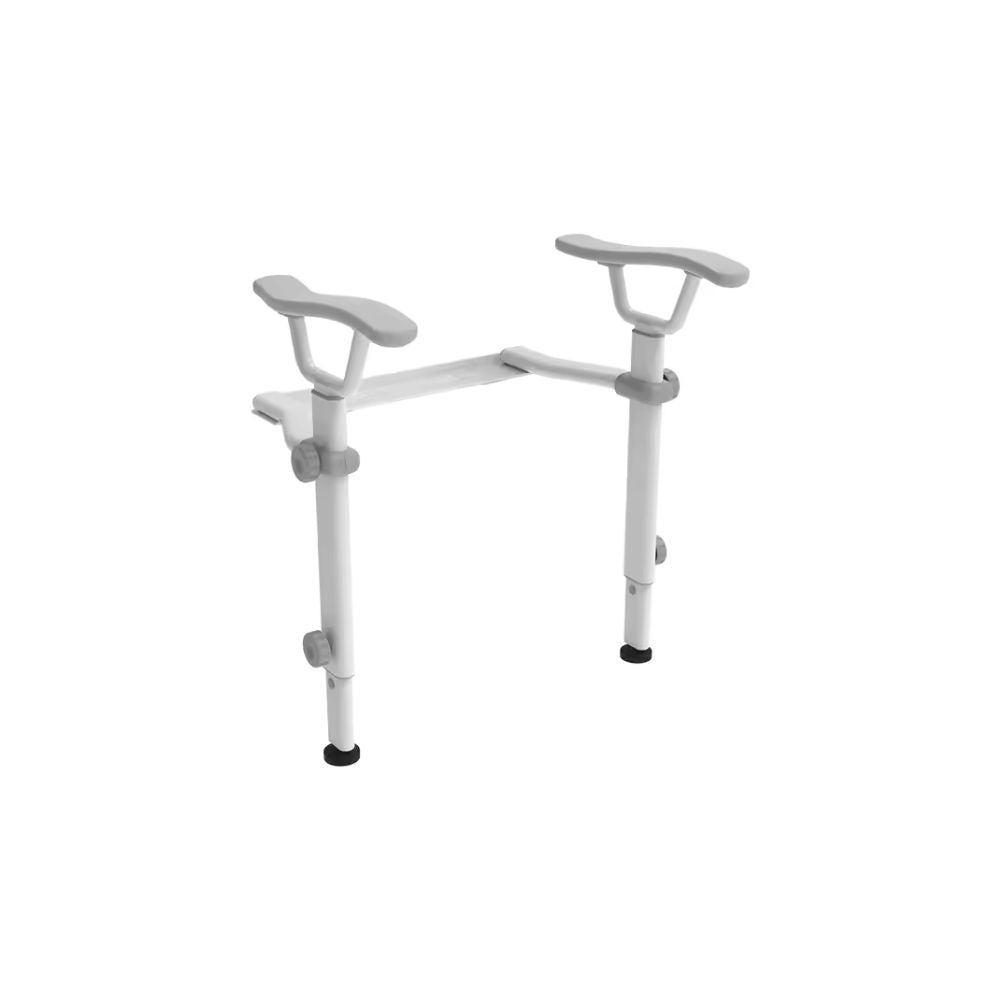
Toilet Support Arm with Legs 200kg Retrofit Set - S02SAW
Regular price
$349.00
Regular price
$349
Sale price
$349
Unit price
per
Liberty Toilet Support Arms Fold Up For All Toilets White Pack of 6 - S01SAWPACK6
Regular price
$1,609.20
Regular price
$1,609
Sale price
$1,609
Unit price
per
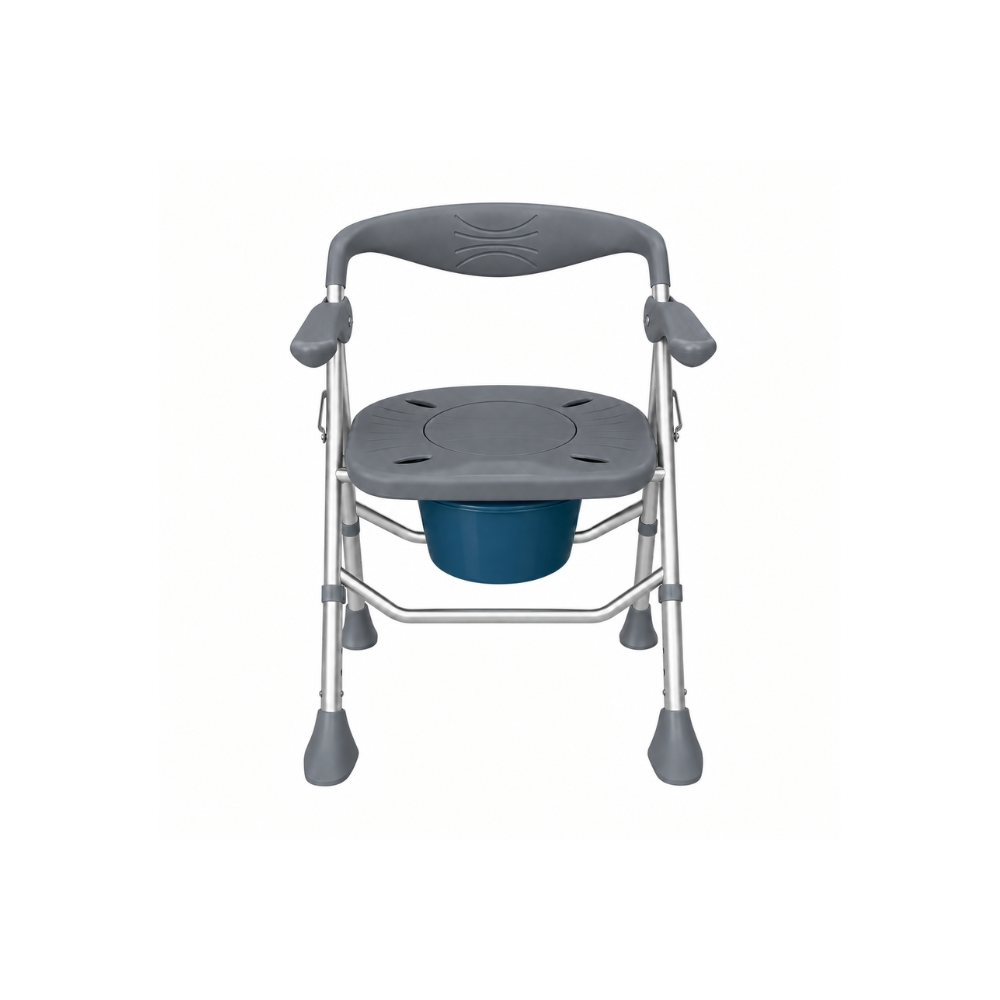
Shower Chair and Bathroom Commode Portable Lightweight Fold Up Aluminum 150kg Pack of 4 Grey (In stock Mid October) - S03C3PACK4G
Regular price
$896.40
Regular price
$896
Sale price
$896
Unit price
per
Shower Chair and Bathroom Commode Portable Lightweight Fold Up Aluminum 150kg Pack of 4 Aqua - S03C3PACK4
Regular price
$896.40
Regular price
$896
Sale price
$896
Unit price
per
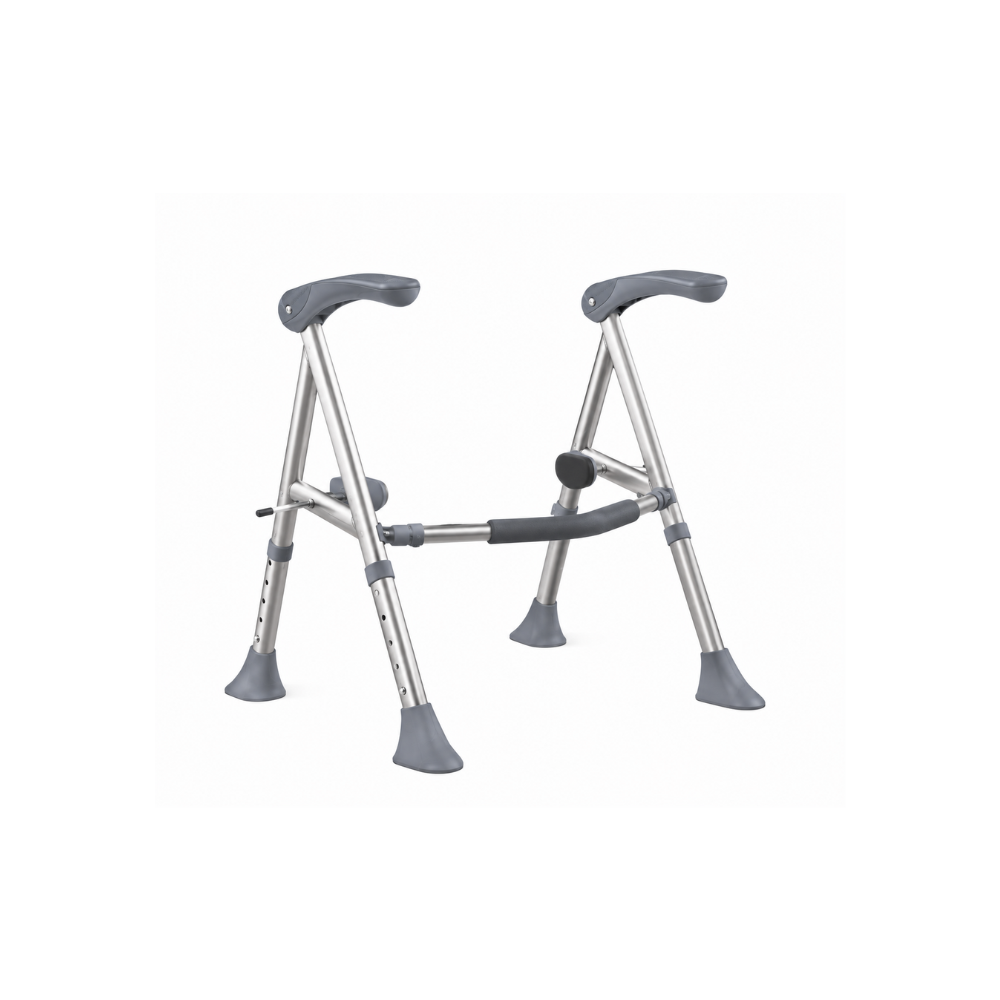
Avail Toilet Support Fold Up Frame Pack of 6 Grey (In stock Mid October) - S03F1GPACK6G
Regular price
$912.60
Regular price
$912
Sale price
$912
Unit price
per
Avail Toilet Support Fold Up Frame Pack of 6 Aqua - S03F1PACK6
Regular price
$912.60
Regular price
$912
Sale price
$912
Unit price
per
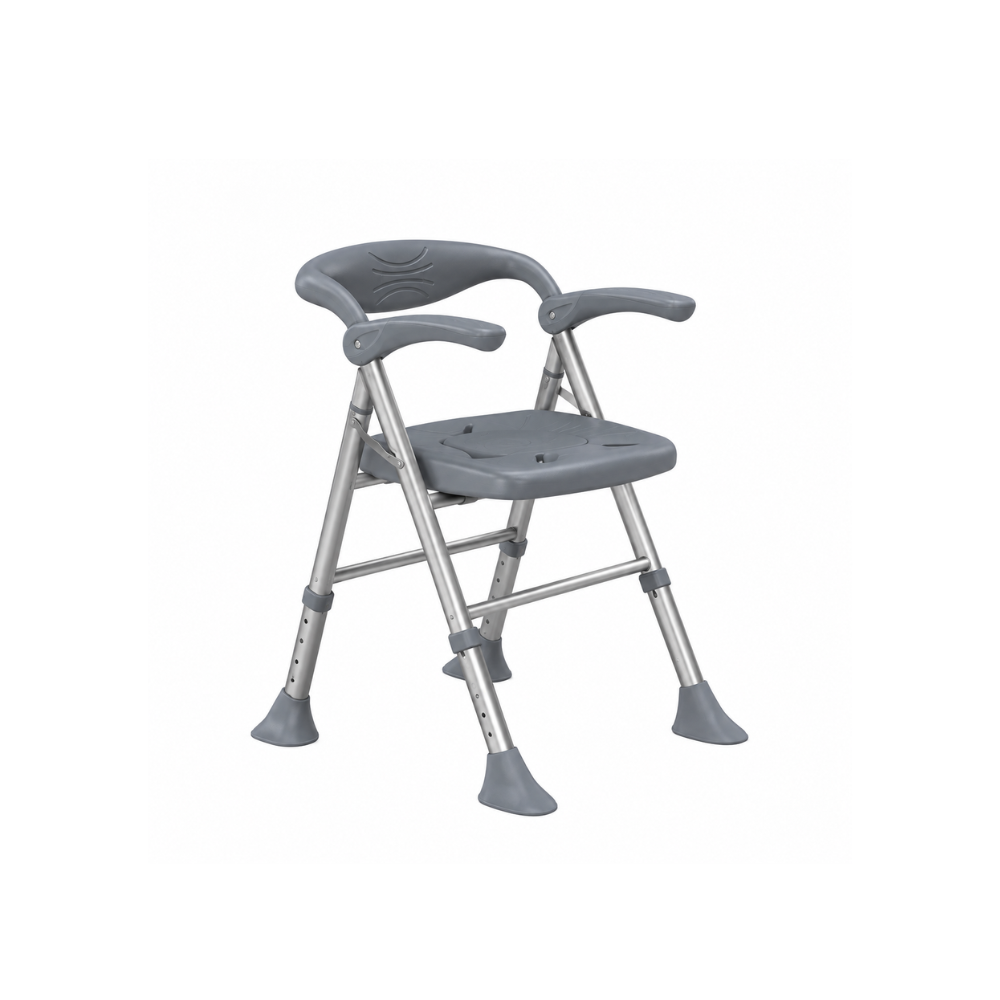
Avail Fold Up Shower Chair Pack of 4 Grey (In stock Mid October) - S03C1PACK4G
Regular price
$824.40
Regular price
$824
Sale price
$824
Unit price
per
Avail Fold Up Shower Chair Pack of 4 Aqua (In stock Mid October) - S03C1PACK4
Regular price
$824.40
Regular price
$824
Sale price
$824
Unit price
per
Avail Toilet Support Fold Up Frame Grey (In stock Mid October) - S03F1G
Regular price
$169.00
Regular price
$169
Sale price
$169
Unit price
per
Shower Chair and Bathroom Commode Portable Lightweight Fold Up Aluminum 150kg Grey (In stock Mid October) - S03C3G
Regular price
$249.00
Regular price
$249
Sale price
$249
Unit price
per
Avail Fold Up Shower Chair Grey (In stock Mid October) - S03C1G
Regular price
$229.00
Regular price
$229
Sale price
$229
Unit price
per
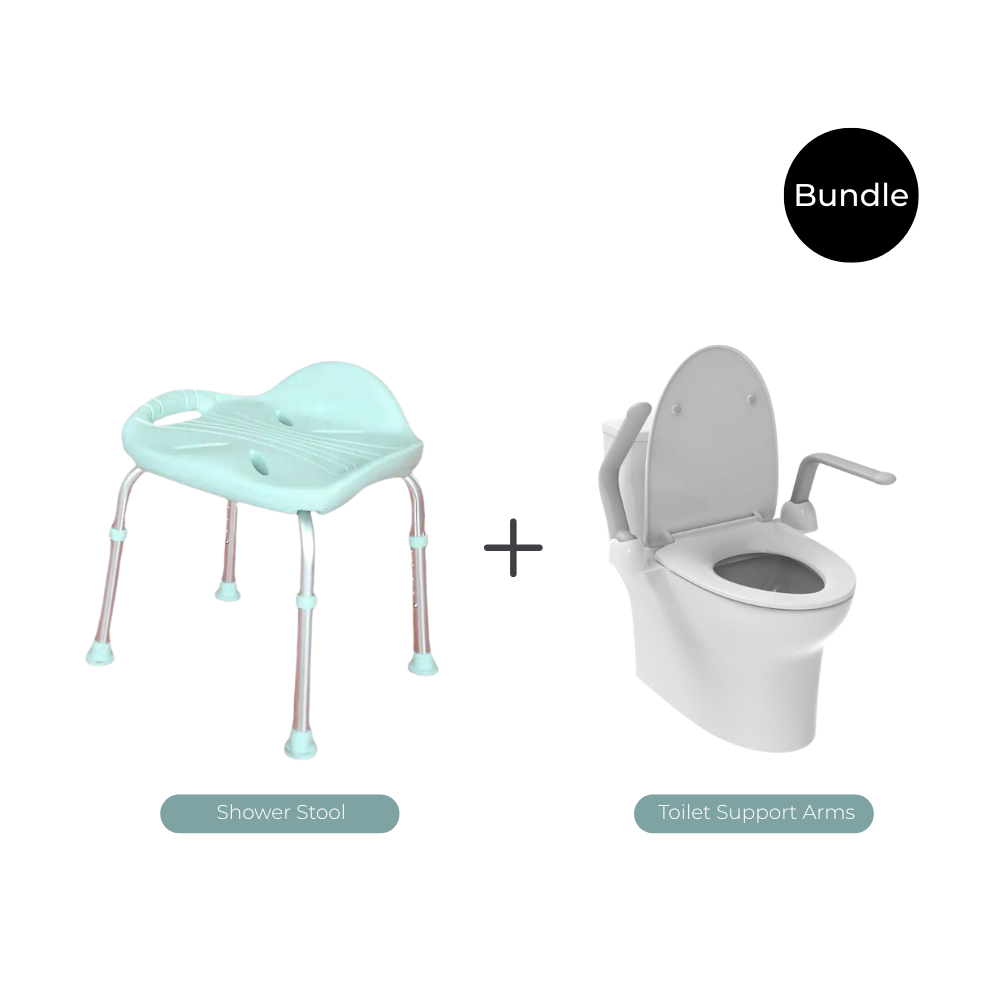
Bathroom Safety Bundle – Shower Stool with Handles and Adjustable Legs & Toilet Support Arms - S03C2SAW
Regular price
$354.60
Regular price
$354
Sale price
$354
Unit price
per
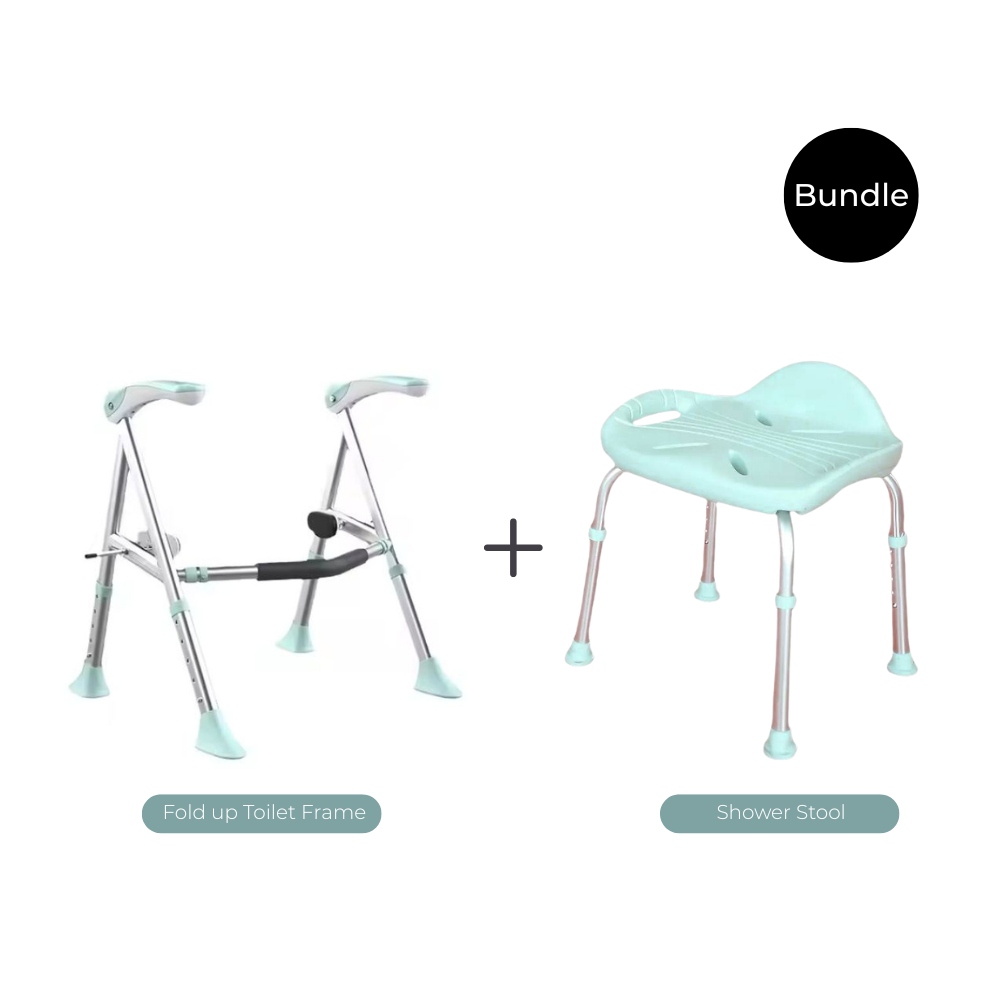
Bathroom Safety Bundle – Toilet Support Fold Up Frame & Shower Stool with Handles and Adjustable Legs - S03F1C2
Regular price
$238.50
Regular price
$238
Sale price
$238
Unit price
per
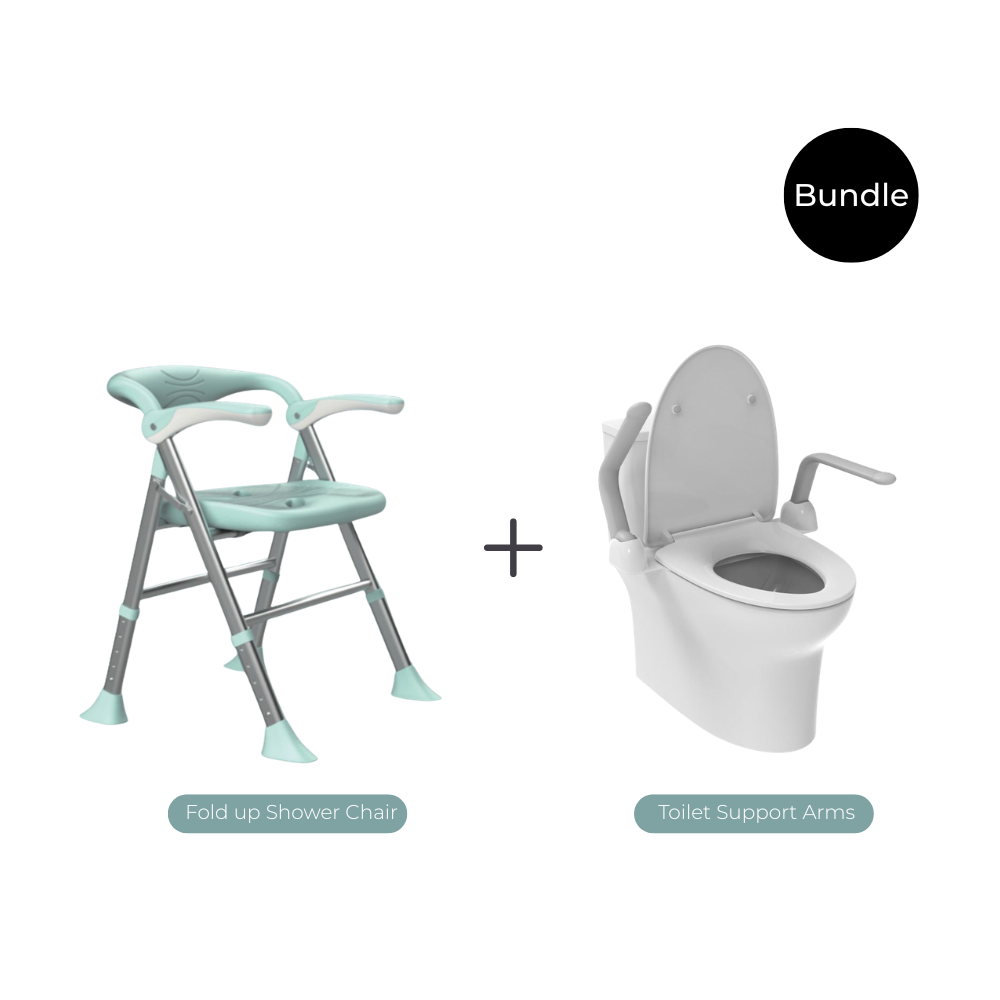
Bathroom Safety Bundle – Fold Up Shower Chair & Toilet Support Arms - S03C1SAW
Regular price
$474.30
Regular price
$474
Sale price
$474
Unit price
per