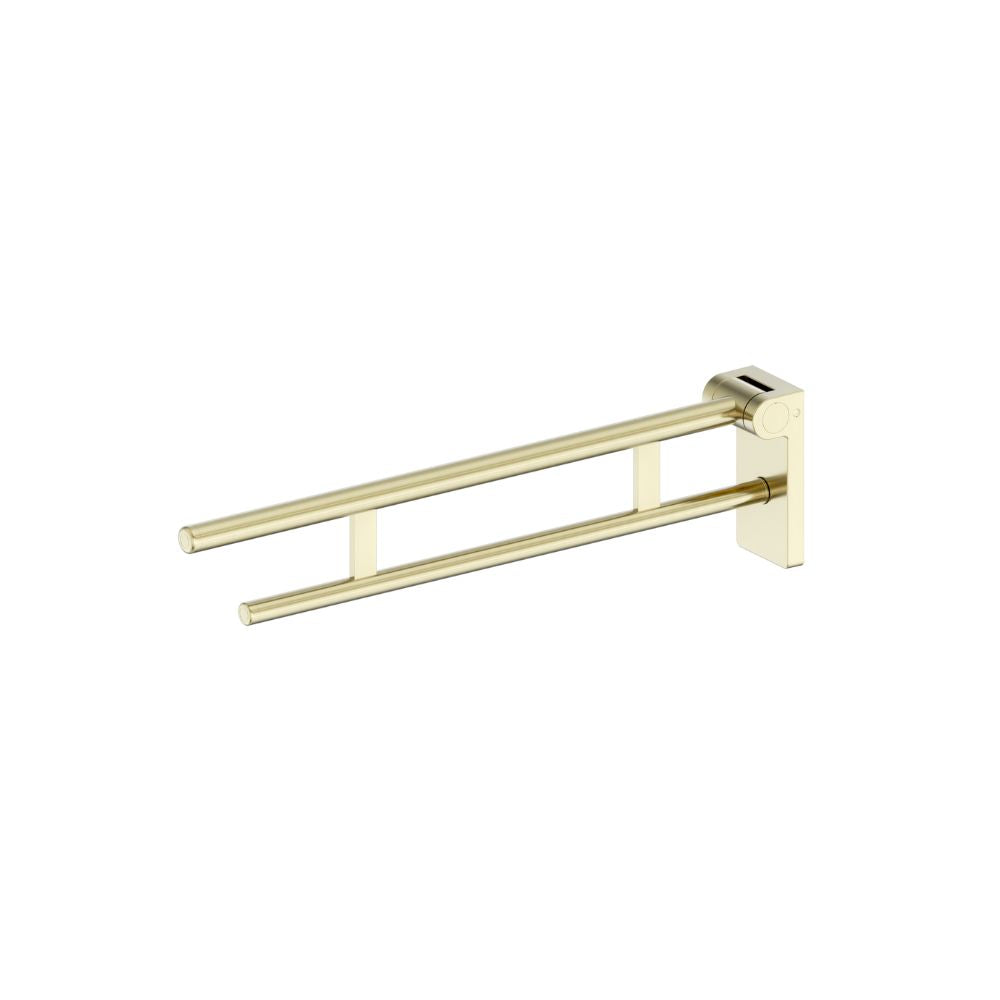
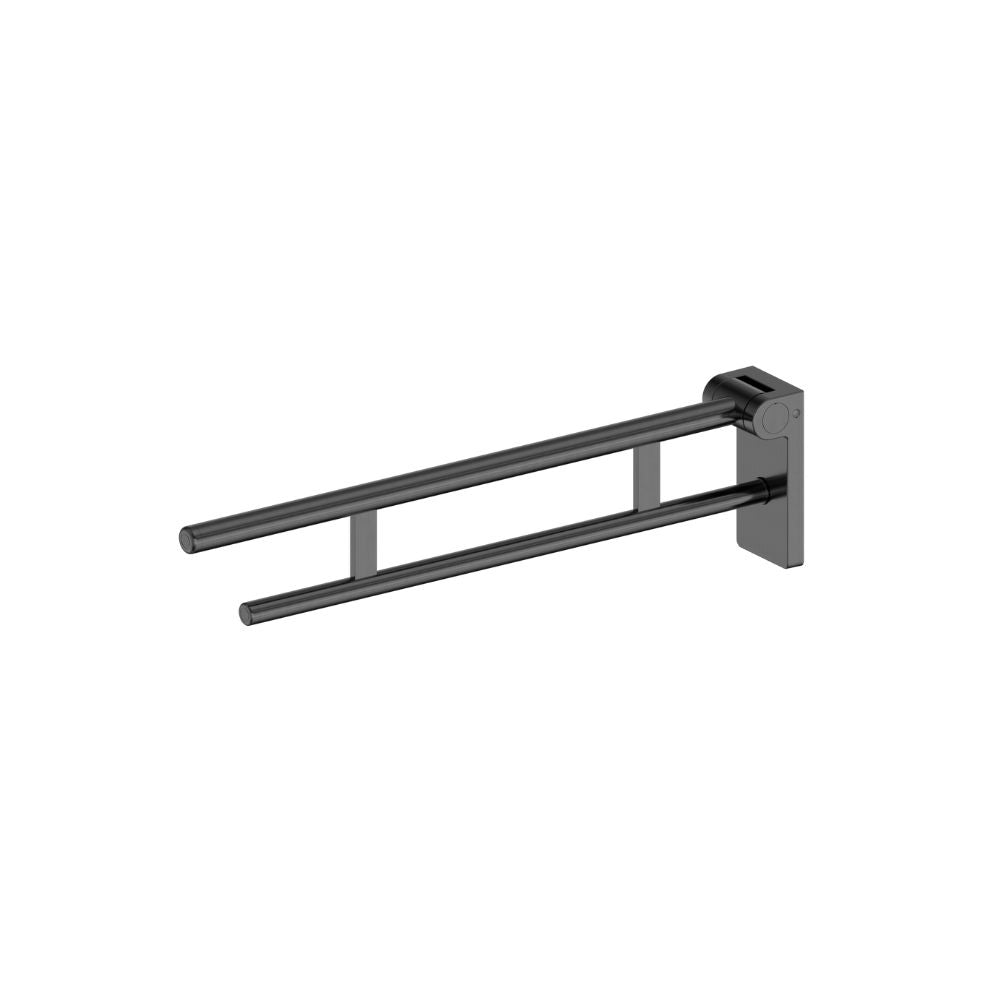
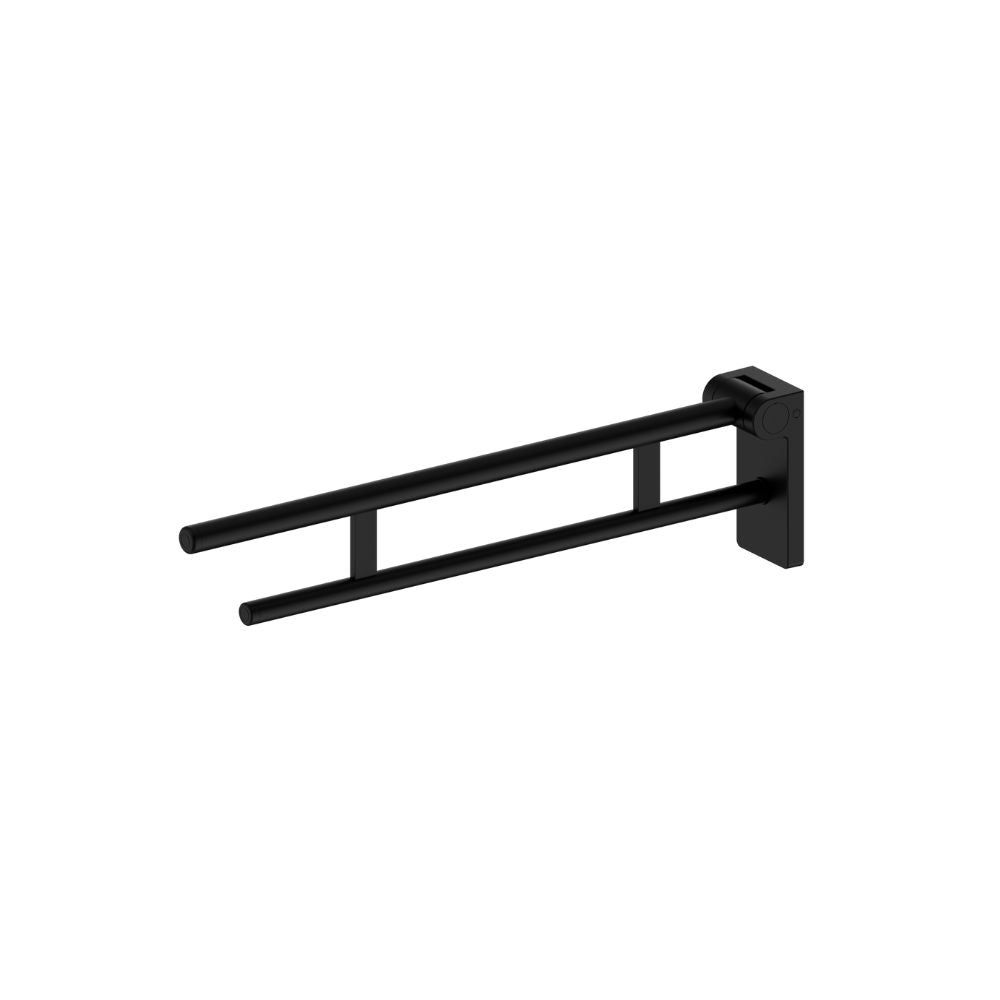
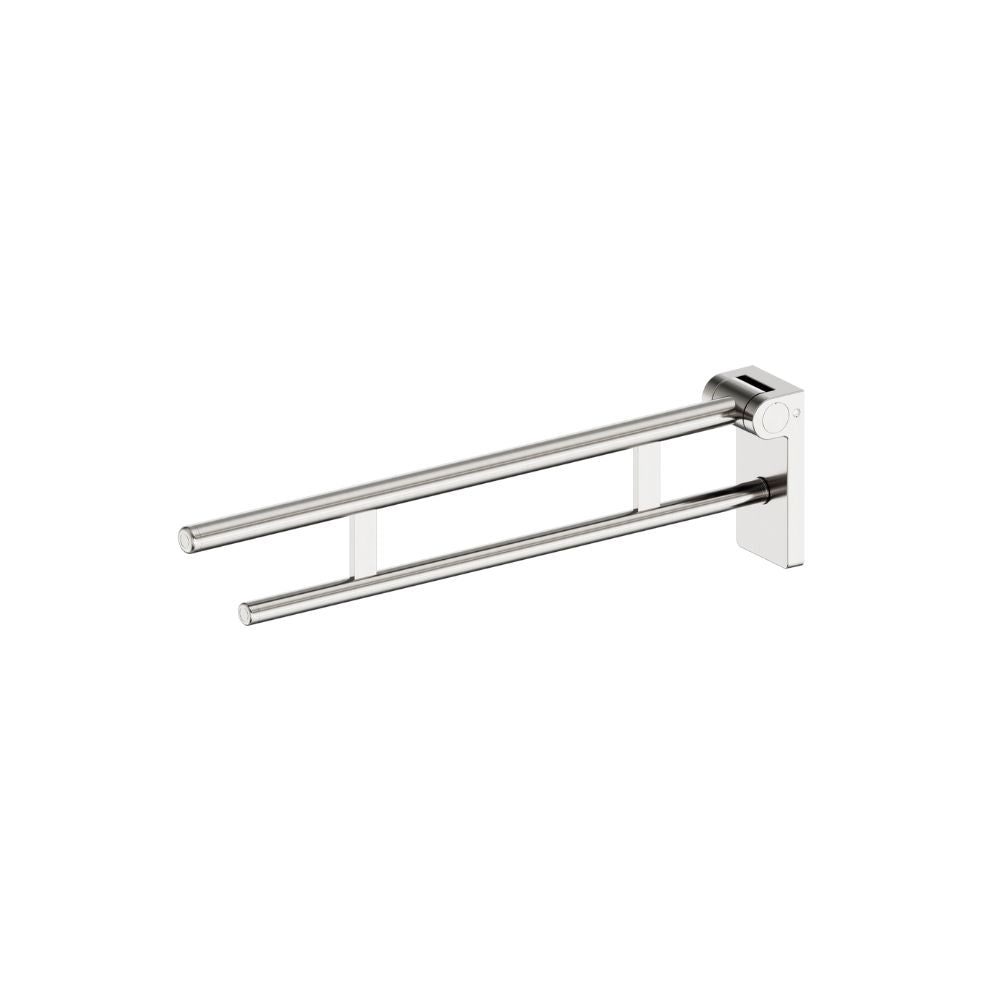
Calibre Rails
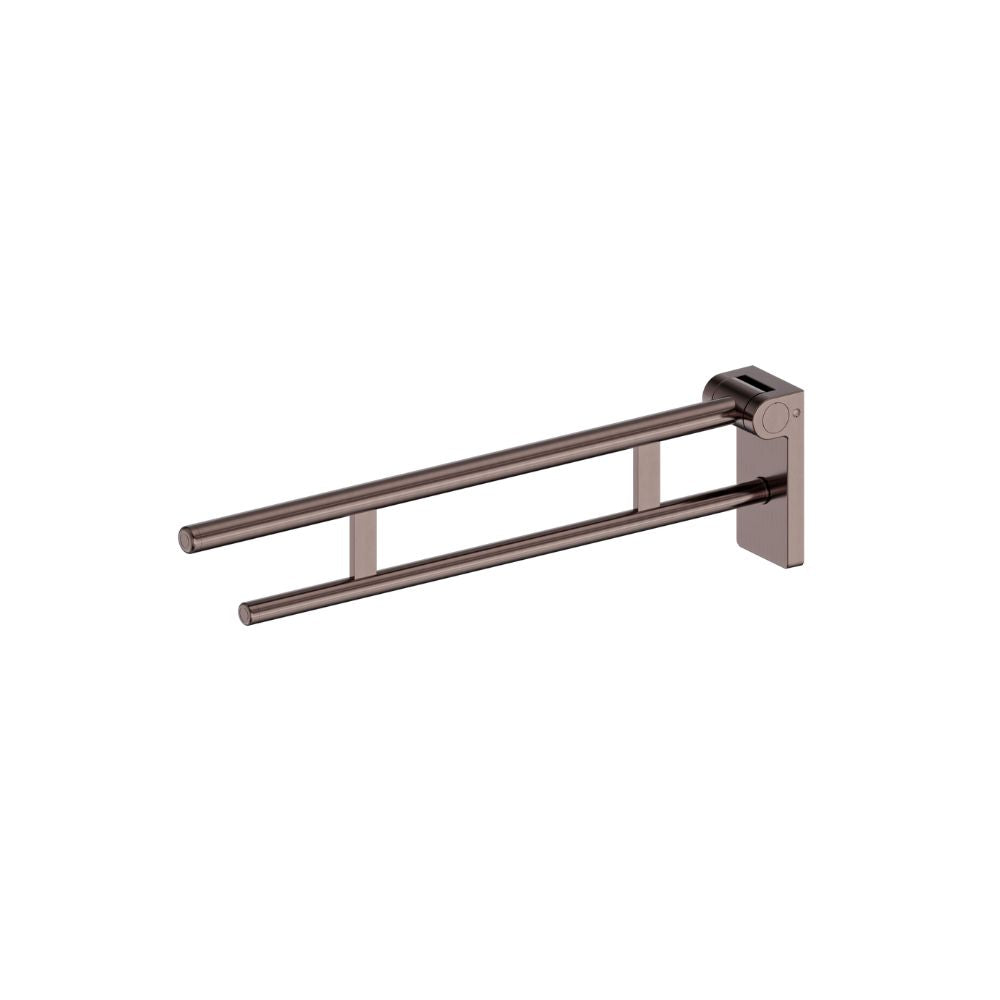
Calibre Mecca 25mm Grab Rail 900mm Twin Shower Set Chrome - NRCS007CH
Need a Quote?
Generate a quote for this product by adding your email below OR generate a quote based on all items in your cart
Create Quote
- The Calibre Mecca Twin Shower 25 Grab Rail 900 Set provides an all in one solution for accessible bathrooms combining the grab rail with the hand shower and over head rain shower with divertor tap
- WELS Rating: Overhead shower 4 Star 7.5L/Min, Hand Shower 4 Star 7.5L/Min
- WELS Registration No: S18358
- Australian owned and designed.
- 900mm vertical grab rail
- 150kg capacity for all 25mm diameter grab rails.
- 25mm diameter is suitable for private homes and assisted living units
- The divertor tap/wall outlet can be installed either at the top or below the grab rail allowing for easy retrofit into existing bathrooms.
- Includes the air hand shower with soft, waterfall and strong spray settings
- Gun metal, brushed gold and brushed bronze colours are PVD coated for long term durability.


Description
- The Calibre Mecca Twin Shower 25 Grab Rail 900 Set provides an all in one solution for accessible bathrooms combining the grab rail with the hand shower and over head rain shower with divertor tap
- WELS Rating: Overhead shower 4 Star 7.5L/Min, Hand Shower 4 Star 7.5L/Min
- WELS Registration No: S18358
- Australian owned and designed.
- 900mm vertical grab rail
- 150kg capacity for all 25mm diameter grab rails.
- 25mm diameter is suitable for private homes and assisted living units
- The divertor tap/wall outlet can be installed either at the top or below the grab rail allowing for easy retrofit into existing bathrooms.
- Includes the air hand shower with soft, waterfall and strong spray settings
- Gun metal, brushed gold and brushed bronze colours are PVD coated for long term durability.
Assembly and CAD
Installation Guide Calibre Mecca 25mm Grab Rail 900mm Twin Shower Set
Install Advice
Installation Instruction
General Instructions:
- This product must be installed by a licensed plumber. Ensure that your plumbing installation conforms to the Australian/New Zealand Standard AS/NZS 3500.
- All pipework must be thoroughly flushed prior to the installation of the shower. In-line filters must be fitted on both hot and cold supplies to prevent foreign particles from damaging the shower components.
- Ensure that all outlets used for personal hygiene deliver water at a safe temperature in accordance with regional regulations.
- Verify that the water pressure is within the recommended range for the shower to function properly.
Bottom Divertor Installation
1. Ensure that the G1/2 outlet thread is at the correct length, trim the outlet if necessary to achieve the desired fit.
The recommended height for the water inlet is 700mm from the finished floor surface.
Apply the G1/2 water outlet connection with Teflon tape to ensure a watertight seal.
2. Locate the wall studs and ensure that at least one bracket is anchored into a stud for secure installation.
Position the wall seal or mounting bracket at the specified height, centered over the stud.
Mark the hole positions on the wall using the diagram above as a reference.
3. Drill pilot holes into the wall stud to a depth of approximately 60mm, ensuring the holes are suitable for the mounting screws (and wall plugs if necessary).
Tip: Use a 3mm drill bit for screws into timber, or an 8mm drill bit if using wall plugs.
4. Apply a small amount of silicone to the back of the mounting bracket, focusing on the area around the screw holes.
5. Install the mounting brackets by securing them to the wall with screws.
Tip: Ensure you use the appropriate mounting screws for the specific wall stud material. The provided screws are designed for timber wall studs.
6. Insert shower arm into shower rail, firm it with grub screw, do not over tighten the screws.
7. Screw the adapter onto the prepared outlet thread.Slide the backplate onto the divertor and attach the divertor to the water inlet and secure it in place.
Mount the shower brackets onto the wall at the desired height along the shower rail.
Once both brackets are securely mounted, tighten all
the grub screws on the shower rail and the diverter to ensure everything is firmly in place.
Attach the hand shower to the hose and connect the
hose to the shower rail, ensuring that rubber washers
are in place at both connection points to prevent
leaks.
8. Verify that each connection is securely tightened.
Turn on the drainage system and water supply, and
inspect all connections for any signs of leakage.
Top Divertor Installation:
1. Ensure that the G1/2 outlet thread is at the correct length, trim the outlet if necessary to achieve the desired fit. The recommended height for the water inlet is 1700mm from the finished floor surface.
Apply the G1/2 water outlet connection with Teflon tape to ensure a watertight seal.
2. Locate the wall studs and ensure that at least one bracket is anchored into a stud for secure
installation.
Position the wall seal or mounting bracket at the specified height, centered over the stud.
Mark the hole positions on the wall using the diagram above as a reference.
3. Drill pilot holes into the wall stud to a depth of approximately 60mm, ensuring the holes are suitable for the mounting screws (and wall plugs ifnecessary).
Tip: Use a 3mm drill bit for screws into timber, or an 8mm drill bit if using wall plugs.
4. Apply a small amount of silicone to the back of the mounting bracket, focusing on the area around the screw holes.
5. Install the mounting brackets by securing them to the wall with screws.
Tip: Ensure you use the appropriate mounting screws for the specific wall stud material. The provided screws are designed for timber wall studs.
6. Disassemble the shower rail as indicated in the figure above.
7. Swap the positions of the mounting brackets and
divertor.
Then, reassemble the shower rails, and secure them
with grub screws.
8. Insert shower arm into shower rail, firm it with grub screw, do not over tighten the screws.
9. Screw the adapter onto the prepared outlet thread.
Slide the backplate onto the divertor and attach the
divertor to the water inlet and secure it in place.
Mount the shower brackets onto the wall at the
desired height along the shower rail.
Once both brackets are securely mounted, tighten all
the grub screws on the shower rail and the diverter to
ensure everything is firmly in place.
Attach the hand shower to the hose and connect the
hose to the shower rail, ensuring that rubber washers
are in place at both connection points to prevent
leaks.
10. Verify that each connection is securely tightened.
Turn on the drainage system and water supply, and
inspect all connections for any signs of leakage.
