


Calibre Rails
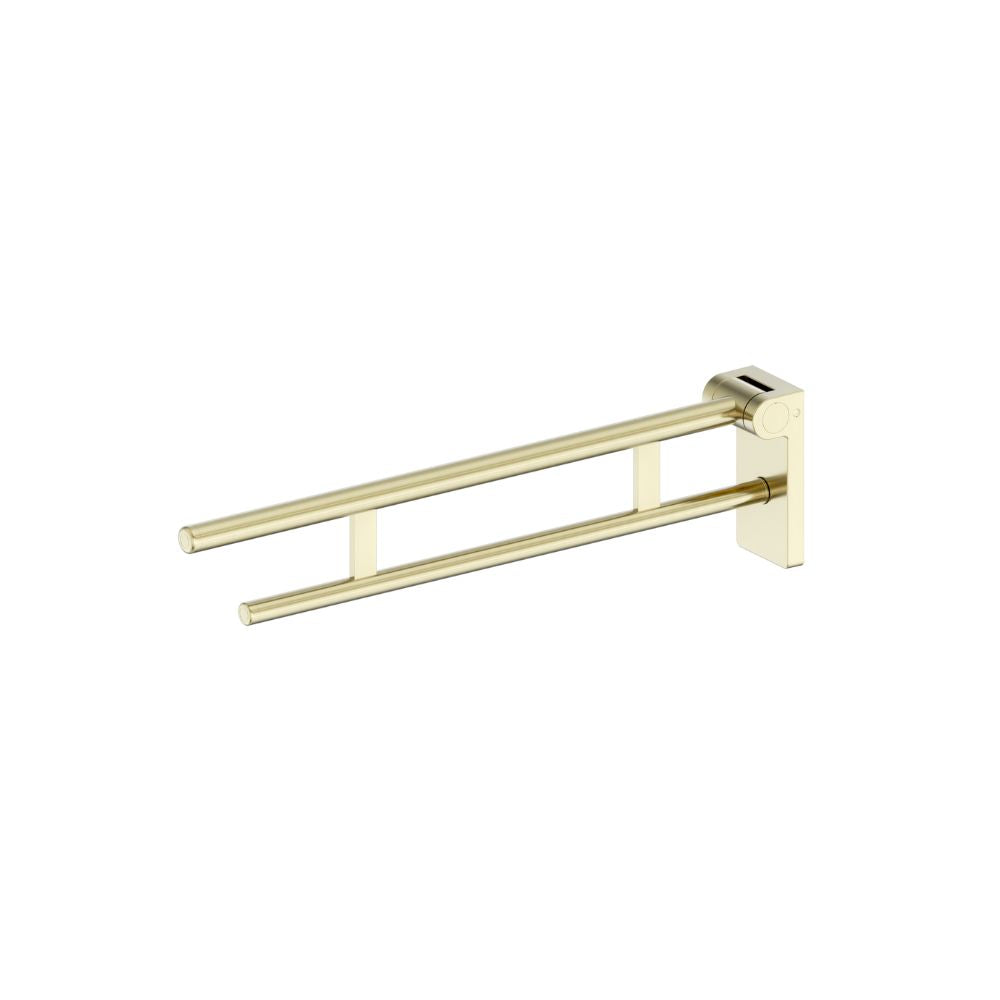
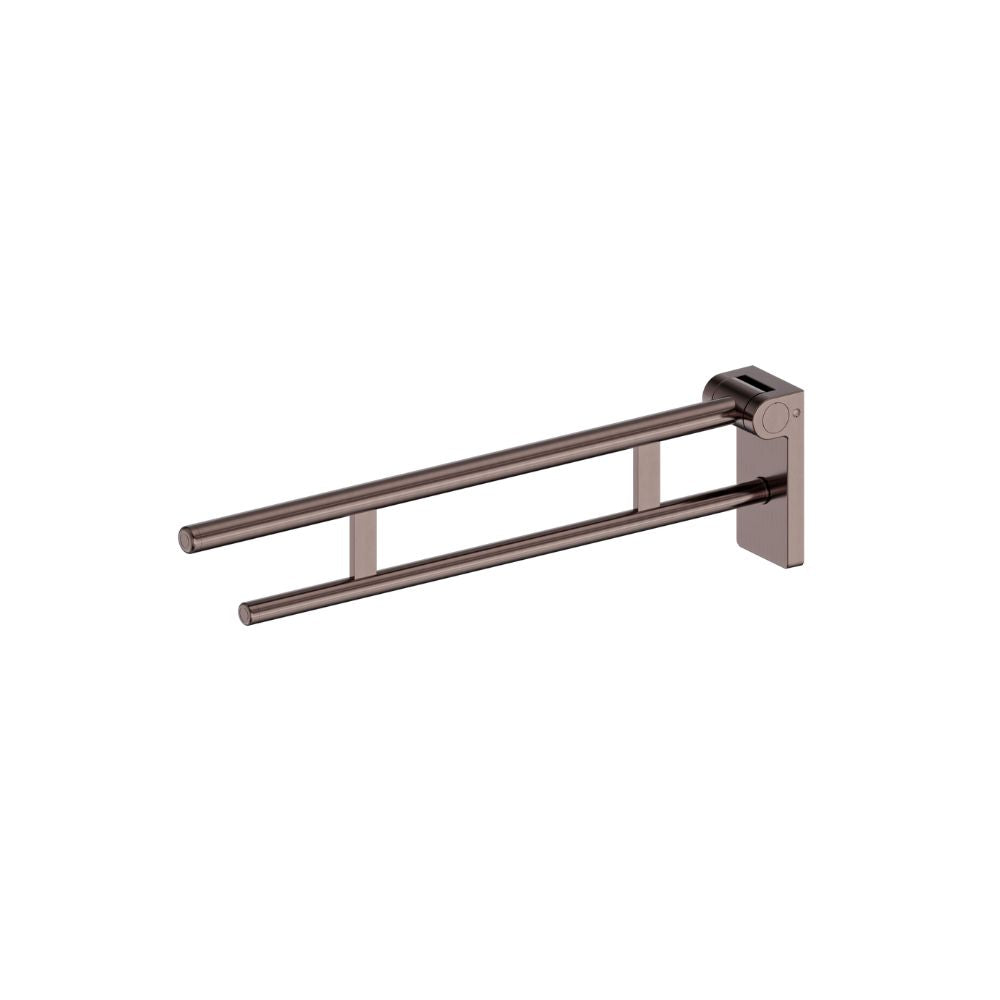
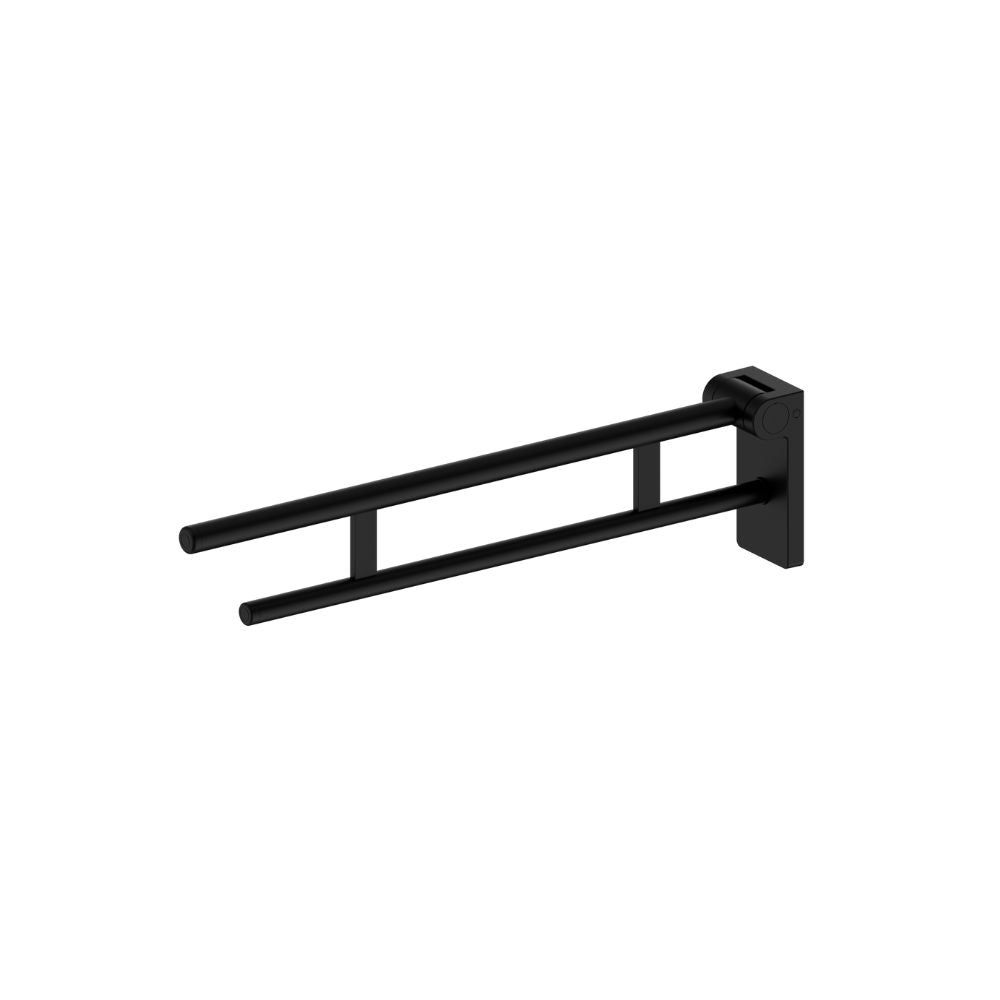
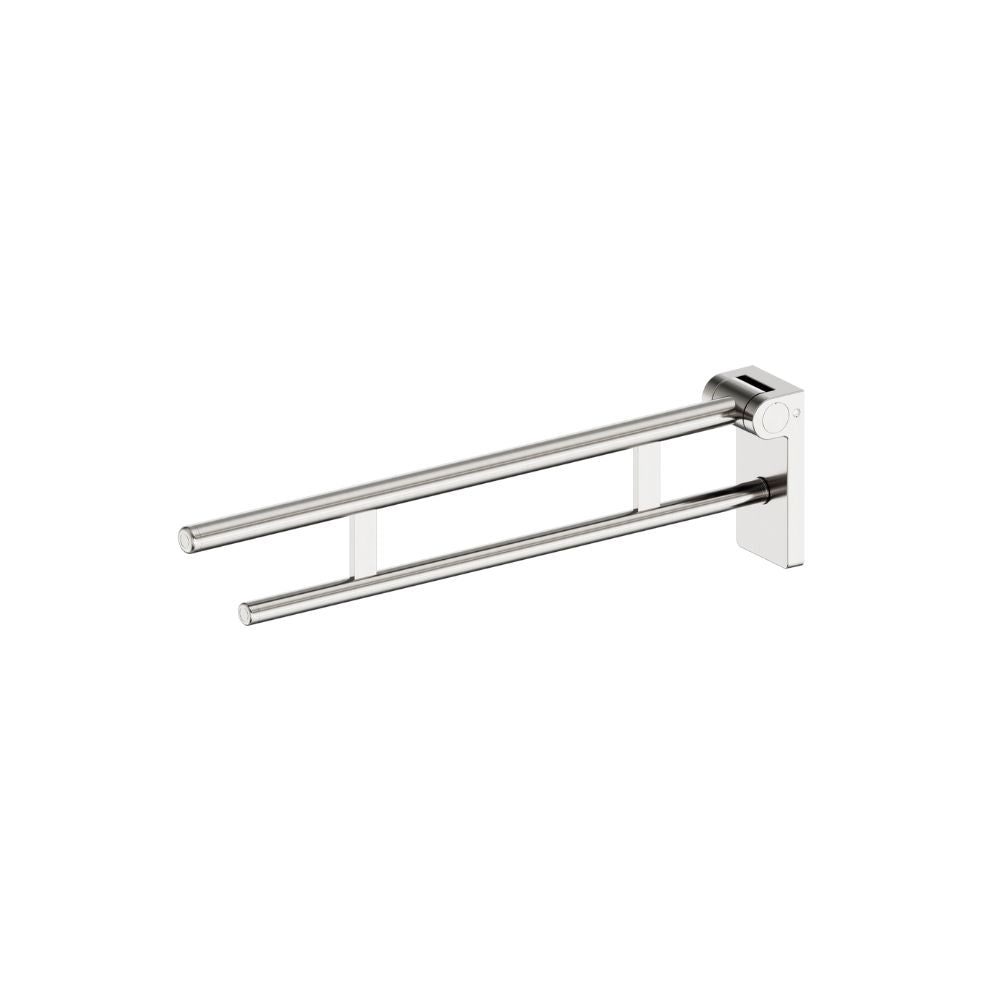
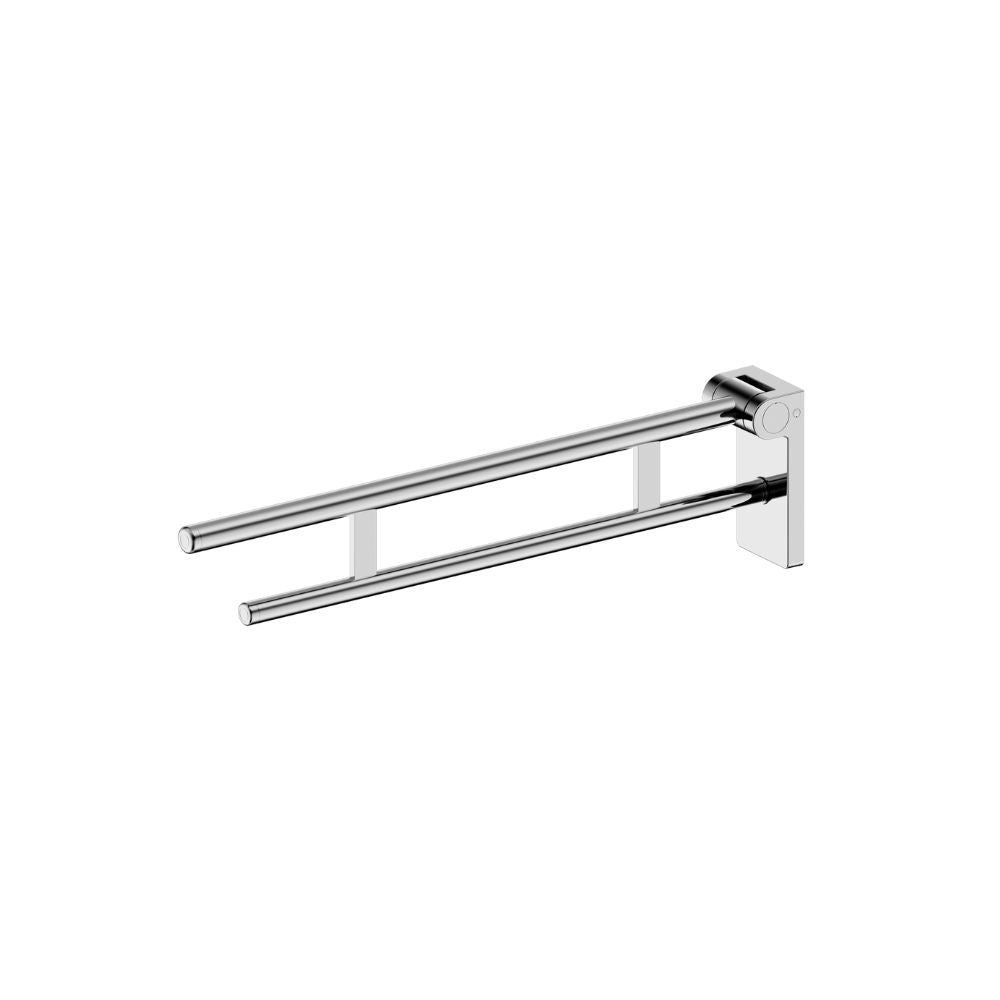
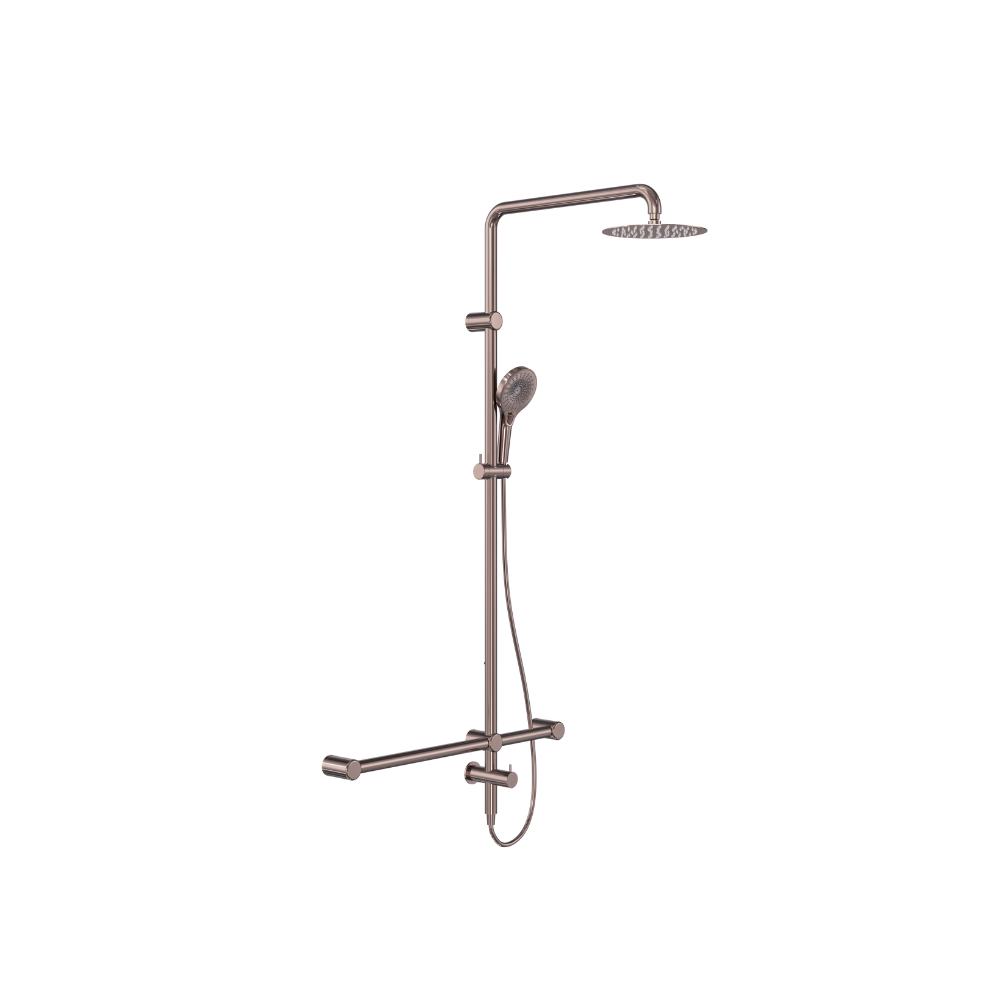
Calibre Mecca 32mm T Bar Grab Rail 1100x750mm Twin Shower Set Gun Metal - NRCS008GM
Regular price
$1,750.00
Regular price
$1,750
Sale price
$1,750
Unit price
per
Tax included.
Shipping calculated at checkout.


Are you a trade member? Sign in for trade orders.
Need a Quote?
Generate a quote for this product by adding your email below OR generate a quote based on all items in your cart
Create Quote
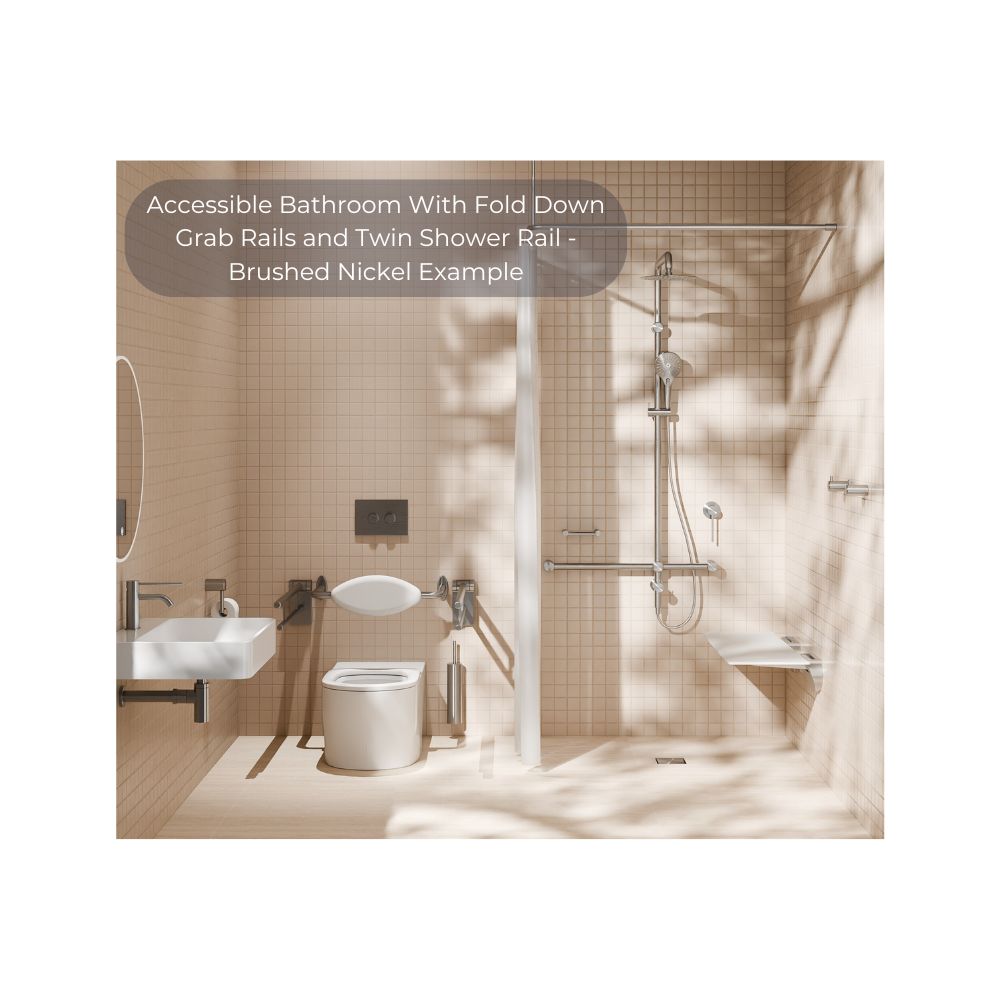
- The Calibre Mecca Twin Shower 32 Grab Rail T Bar 1100 x 750 Set provides an all in one solution for accessible bathrooms combining the grab rail with the hand shower and over head rain shower with divertor tap
- Australian owned and designed.
- WELS Rating: Overhead shower 4 Star 7.5L/Min, Hand Shower 4 Star 7.5L/Min
- WELS Registration No: S18359
- 1100 vertical rail x 750 horizontal rail (split 500 and 250mm rails).
- The horizontal offset ensures the shower seat can be installed in the correct location as per AS1428.1 without clashing with the grab rail.
- 150kg capacity for all 32mm diameter grab rails.
- 32mm diameter rails are approved for standard AS1428.1 requirements in DDA bathrooms.
- The divertor tap/wall outlet is in below the grab rail as per AS1428.1 to allow easy use when sitting
- Includes the air hand shower with soft, waterfall and strong spray settings
- Gun metal, brushed gold and brushed bronze colours are PVD coated for long term durability.