

An AS 1428.1 shower compliance checklist verifies the as-built shower, not the drawing. Measure the recess and circulation space, check horizontal grab rails sit 800 mm to 820 mm above the finished floor, confirm rail diameter and wall clearance, test the seat and its load rating, and confirm tapware and hand shower reach from the seat.
Most accessible showers do not fail because the design was wrong. They fail because something changed between the drawing and the finished room. A tiler raises the floor level. A fixture is substituted because the specified one is backordered. A rail goes in a few millimetres high. Each change looks small, and each can fail an inspection.
This article is a verification guide for builders, plumbers, OT-led project managers, certifiers and facility managers who have to sign off an accessible shower. It does not re-explain layout planning. For that, use our AS 1428.1 shower circulation and fixture planning guide. Here you will get a measure-as-built method, a fixture audit, a defect and fix table, and a one-page checklist you can print.
Key takeaways
- Verify the finished room, not the drawing. Measure from the finished floor after tiling and falls are complete.
- Horizontal grab rails must sit 800 mm to 820 mm above the finished floor. Treat that range as the whole tolerance.
- Rail diameter is 30 mm to 40 mm and wall clearance is 50 mm to 60 mm. A tape measure and a go/no-go gauge catch most errors.
- A seat can comply on its own and still fail because it blocks a rail or sits out of reach of the controls.
- Controls, hand shower and slide rail must be usable from the seated position, not just reachable by a standing installer.
- Specify fixtures that arrive pre-set to the correct dimensions, and get compliance documentation before you order replacements.
Summary Table
| Check area | What you are verifying | Typical failure | Who usually finds it |
|---|---|---|---|
| Recess and circulation | As-built size, clear space, hob-free floor, door swing | Floor raised or fixture intrudes into clear space | Certifier, OT |
| Grab rails | Height, diameter, wall clearance, continuity, fixing, finish | Rail set outside the height range, or interrupted by another fixture | Certifier, installer |
| Shower seat | Height, depth, fold-up clearance, position, load rating | Seat blocks a rail or sits away from the controls | OT, certifier |
| Tapware | Control type, reach from seat, operation | Controls out of seated reach | OT |
| Hand shower | Slide rail position, hose length, holder | Rail too high or hose too short to reach the seat | OT, installer |
Why accessible showers fail at handover
Accessible showers fail at handover mainly because of three things: small dimensional errors that exceed the permitted range, late product substitutions, and fixtures that are "nearly" compliant. The drawing was usually fine. The failure happens in the gap between the design intent and the site work that followed.
Tolerances are tighter than most trades assume
The permitted range for a horizontal grab rail height is only 20 mm wide (800 mm to 820 mm above the finished floor). That range is the tolerance. Do not add a construction allowance on top of it. A rail at 825 mm is not "close enough". It is outside the range, and a careful certifier will record it.
The same applies to diameter and wall clearance. A rail with a 42 mm diameter looks like a grab rail. It is not within the 30 mm to 40 mm range.
Late substitutions are the biggest risk
Substitutions usually happen when stock runs out close to fit-off. A plumber swaps a slide rail for a similar model. A different seat arrives because the specified one is on backorder. The replacement has different dimensions, different mounting points or a different fixing pattern, and nobody re-checks it against the layout.
A simple control helps: any substitution after the fixture schedule is approved goes back to whoever signs off compliance, with the product's dimensional data, before it is installed.
"Nearly compliant" fixtures
Some fixtures look right but miss on one dimension or finish. Examples include a rail with a smooth polished finish where a slip-resistant grip is needed, a hand shower holder that cannot be reached from the seat, or tapware with a control that needs a pinching grip. Retail-grade fixtures are the usual source. If a product does not come with dimensional data and compliance documentation, treat it as unverified.
Which standard edition applies
This article uses the dimensions in AS 1428.1-2009 including amendments, which is the edition most commonly referenced through the Premises Standards and the National Construction Code. Standards Australia has also published a later edition. Confirm with your certifier which edition applies to your project before you start measuring. This article names the requirement area rather than printing clause numbers, because numbering differs across editions and amendments. Record the clause number from your licensed copy of the standard on your inspection sheet.
Circulation and recess check
The circulation and recess check confirms that the finished shower recess and the clear space around it match the design. Measure the recess, the clear circulation space, the floor and the door swing in the as-built room, not on the drawing. Use the planning guide to confirm the required dimensions.
This section is deliberately brief. Layout decisions belong in design, and our AS 1428.1 shower circulation and fixture planning guide covers them. Your job at handover is to confirm the built room still matches.
Measure-as-built steps
- Recess size. Measure the finished internal dimensions, tile face to tile face, not the framing dimensions. Tile thickness and waterproofing build-up reduce the finished size.
- Clear circulation space. Mark the required clear space on the floor with tape. Check that no fixture, vanity edge, toilet pan, bin or seat in its stowed position intrudes into it.
- Hob-free floor. Run a straightedge from the bathroom floor into the shower floor. There must be no hob or step. Check the transition detail and any water-stop for lips and gaps.
- Falls. Confirm the falls to the waste are gentle enough for a wheelchair or walking frame. Heavy falls in the floor tiling also change the height of every fixture measured from the floor.
- Door swing. Confirm the door does not swing into the clear circulation space. Check it opens fully against the wall without hitting a fixture.
The trap: measuring from the wrong floor
Fixture heights are measured from the finished floor. If the floor was still being tiled when rails were installed, the measurement was probably taken from a slab or substrate. Any difference between that level and the finished floor is carried straight into the rail height. Re-measure every fixture from the finished floor on handover day.
Grab rail audit
A grab rail audit checks six things on each rail: height, diameter, wall clearance, continuity, fixing strength and slip-resistant finish. Horizontal rails must sit 800 mm to 820 mm above the finished floor. Diameter is 30 mm to 40 mm and wall clearance is 50 mm to 60 mm. Measure every rail, not a sample.
Rail height
Measure the horizontal rail from the finished floor to the centreline of the rail. Take the reading at both ends and the middle, because a rail that is not level may be in range at one end and out at the other. Record each reading. The required range is 800 mm to 820 mm above the finished floor.
A frequent error is measuring to the top of the rail instead of its centreline. With a 35 mm diameter rail, that is a difference of 17.5 mm. That one mistake can push a compliant rail out of the range, or hide a rail that is already outside it.
For layout questions about where horizontal, vertical and angled rails belong, see our T-Bar Shower Grab Rail Layouts guide. This audit only checks that what was built sits in range.
Diameter and wall clearance
Use digital calipers on the rail diameter. It must be 30 mm to 40 mm. Then check the clearance between the rail and the wall. It must be 50 mm to 60 mm. A simple go/no-go gauge cut from timber or plastic, with a 50 mm and a 60 mm step, speeds this up.
Check the clearance at both mounting brackets and along the span. A rail that flexes or was fixed on a bowed wall can read differently in the middle. Tile build-up behind a bracket can also reduce the clearance after the rail was specified.
Continuity
A rail must be usable along its length without interruption. Look for soap holders, shower rose brackets, tapware bodies, seat hinges or tile edges that stop a hand sliding along it. If another fixture clashes with the rail, the rail needs to move, not the hand. This is where seats and combined rail systems most often cause problems, which we cover below.
Fixing strength
The standard sets load requirements for grab rails and their fixings. You cannot prove that with a tape measure, so check the paperwork and the wall.
- Confirm that blocking, a plate or another rated backing was installed behind each fixing point, and that a photo was taken before the lining went on.
- Check the fixings are those the supplier specified for the wall type (masonry, stud or sheet).
- Push and pull the rail firmly by hand. Any movement means it will not survive in service.
- Ask the supplier for load test or compliance documentation for the rail and bracket.
If backing was not photographed and the lining is closed, raise it with the certifier early. Opening walls late is expensive.
Slip-resistant finish
Run your hand along the rail wet. The grip surface must stay slip-resistant, not smooth and polished. Check that the finish is a contrast against the wall. Many facility managers also request a visual contrast to help users with low vision. Check this against the project's access consultant requirements, since it may be in the brief rather than the standard.
Shower seat check
The shower seat check confirms the seat's height, depth, fold-up clearance, position relative to the controls and load rating. A seat can meet its own dimensions and still fail the shower, usually because it blocks a rail or sits out of reach of the tapware. Check the seat in its relationship to everything else.
Height and depth
Measure the seat surface from the finished floor and the seat depth from the wall. Compare both against the dimensions in your copy of AS 1428.1. A seat that is slightly too high or too deep will be difficult for some users to transfer onto, even if it looks fine to a standing installer.
Avail seats are designed without slots. The seat surface is tilted so water drains off and there is nowhere for mould to grow. When you check a seat, look at how it sheds water. If water pools on the surface, the tilt is wrong or the seat has been fitted out of level.
Fold-up clearance
If the seat folds up, test it through its full movement.
- Fold it fully up and down several times. It must move without catching on the rail, the wall tiles or the tapware.
- In the stowed position, confirm it does not intrude into the clear circulation space.
- In the down position, confirm it does not cover the rail or stop a user reaching it from the seat.
- Confirm the stowed seat does not hide the hand shower or its slide rail.
Position relative to the controls
Sit on the seat, or ask the OT or a colleague to. Reach the tapware and the hand shower. If you cannot reach them comfortably without leaning or twisting, the seat and controls are in the wrong relationship. This is the most common failure we see described in inspection findings, and it is cheap to catch early and expensive to fix after tiling.
Load rating
Check the seat's rated load against the project brief. A bariatric requirement may need a higher rating than a standard seat provides. Ask the supplier for the load rating in writing, and check that the fixings and wall backing are suitable for that rating.
Wall-mounted, fold-up and freestanding seats
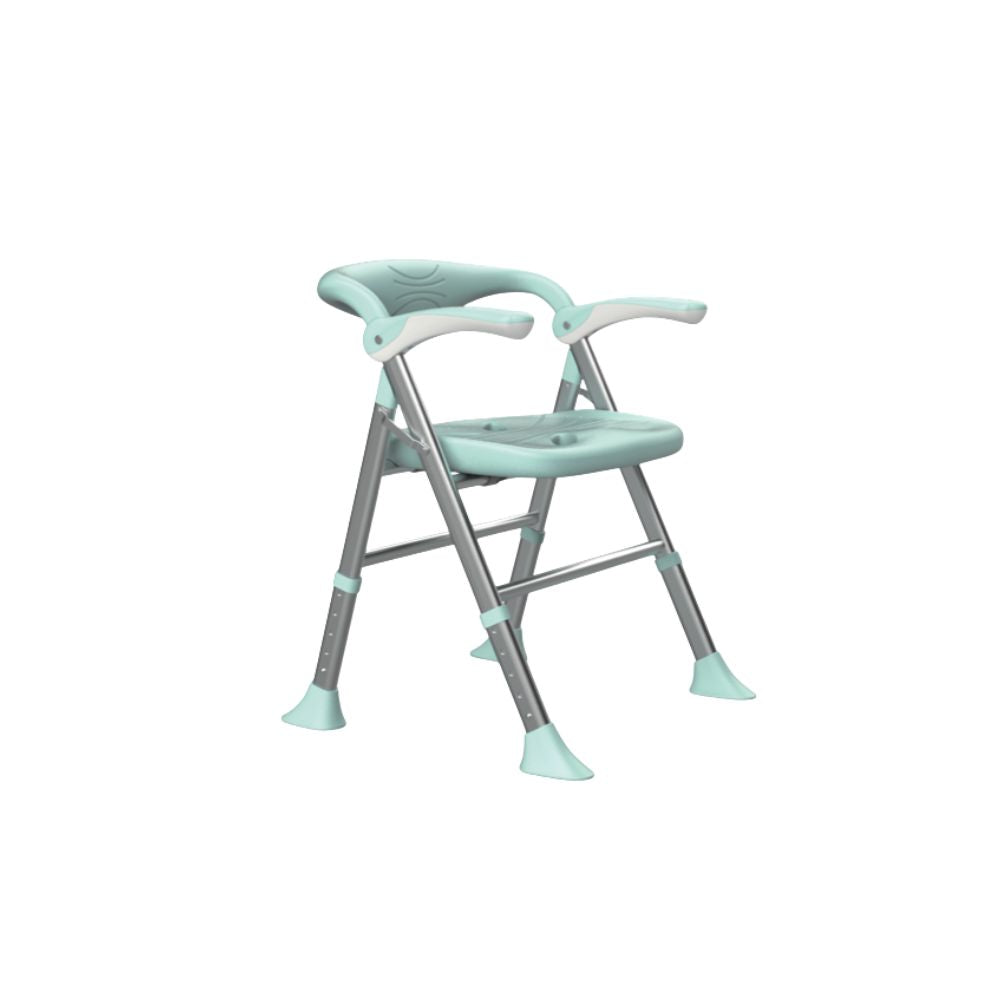
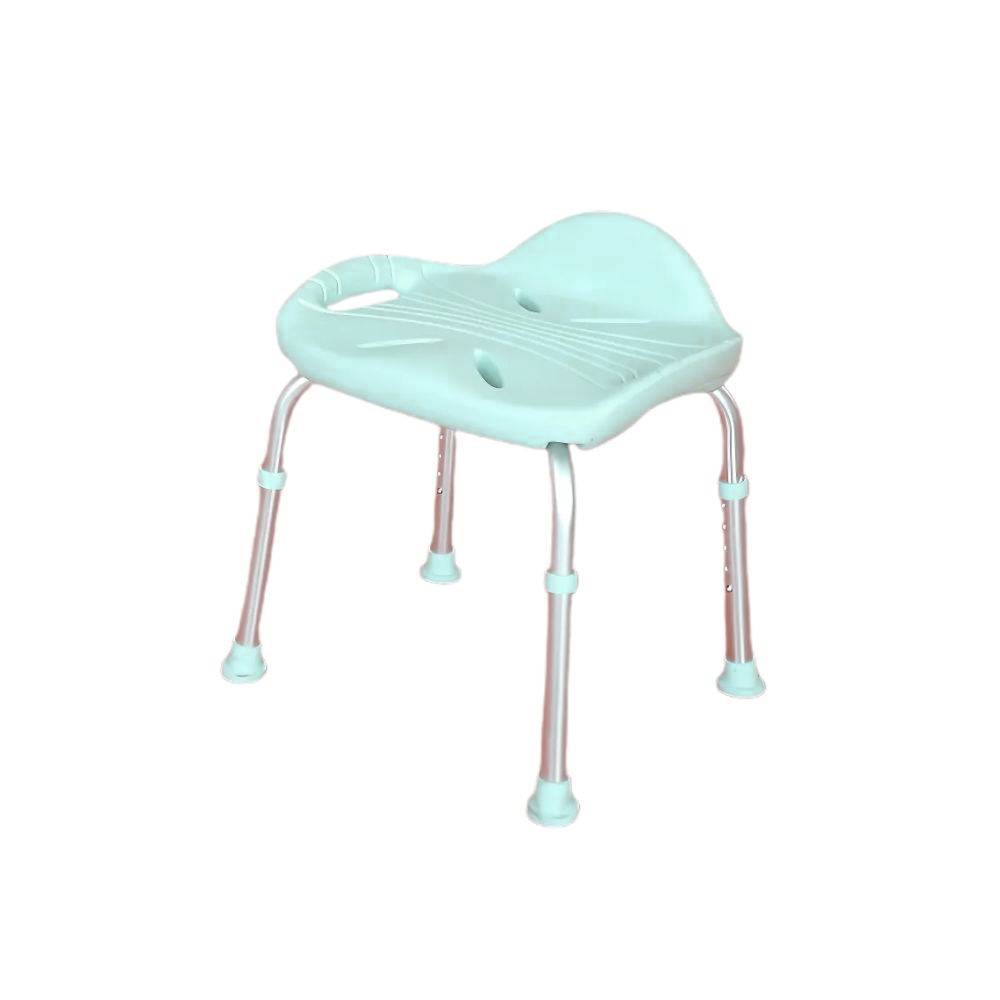
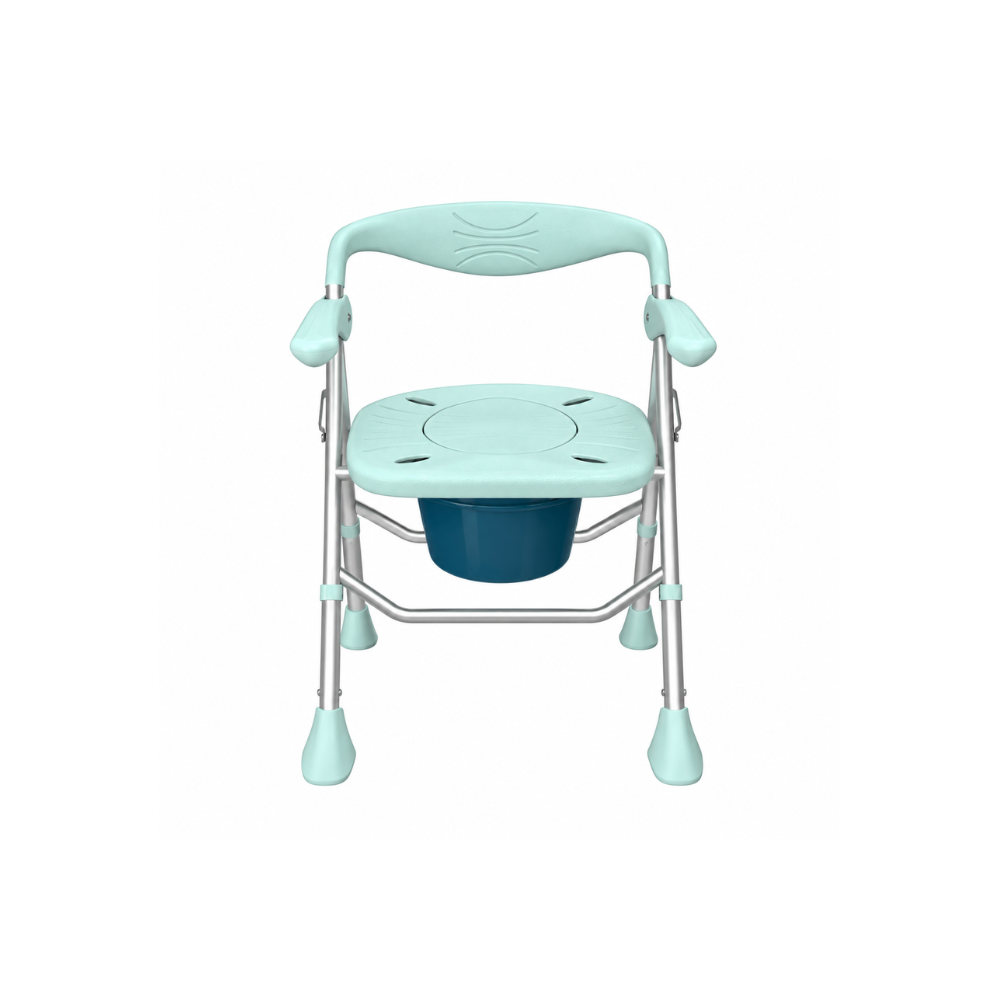
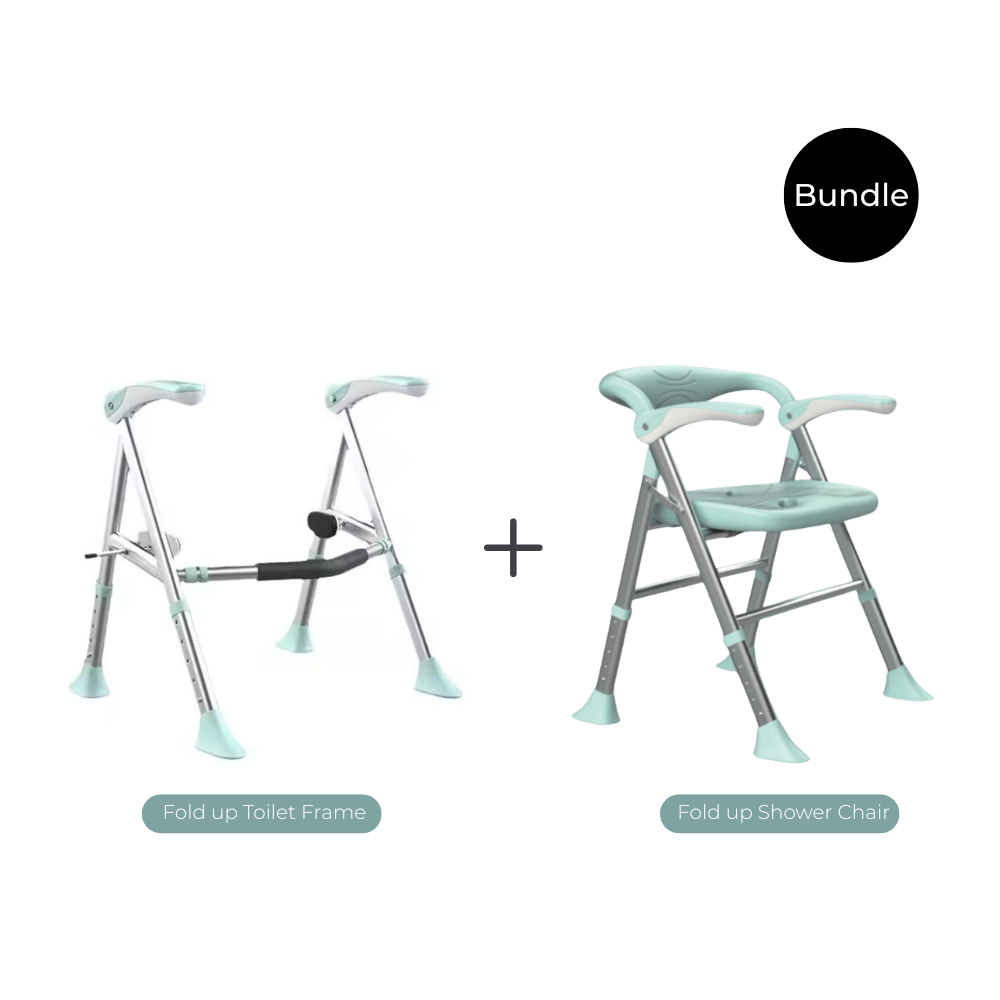
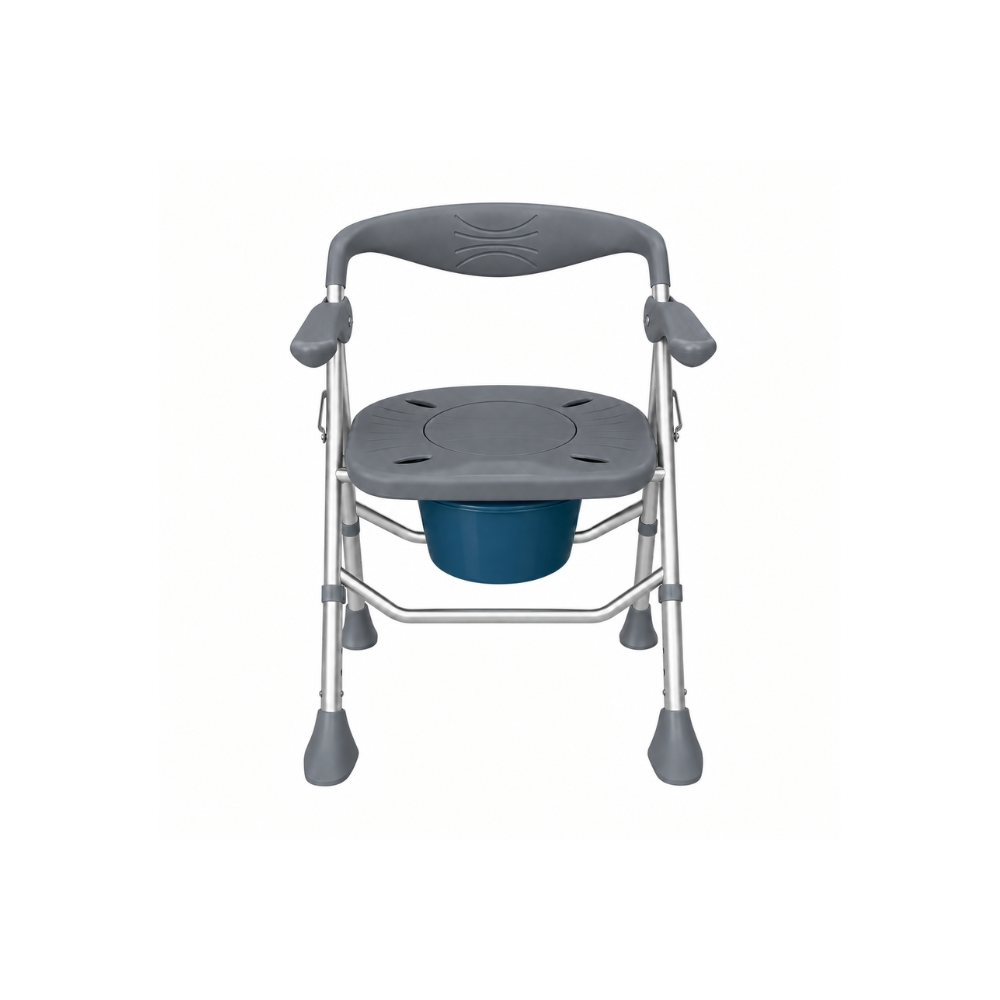
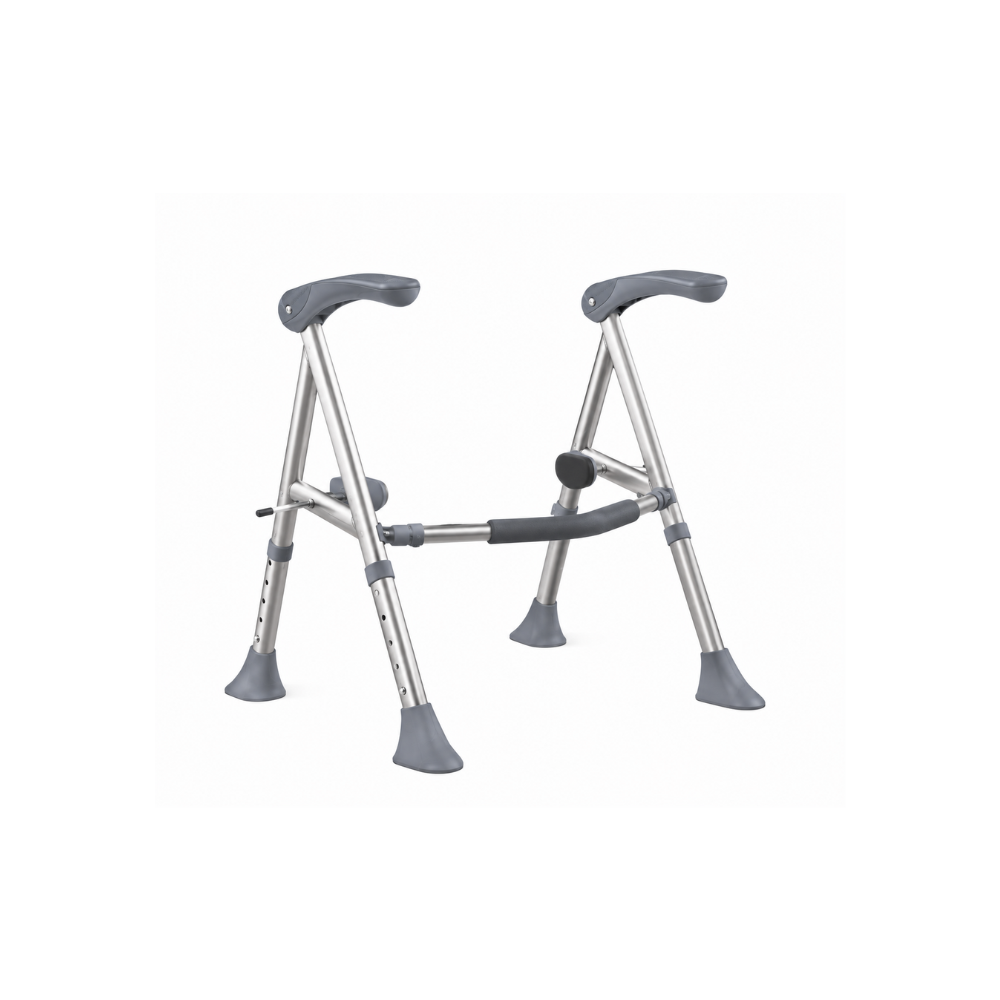
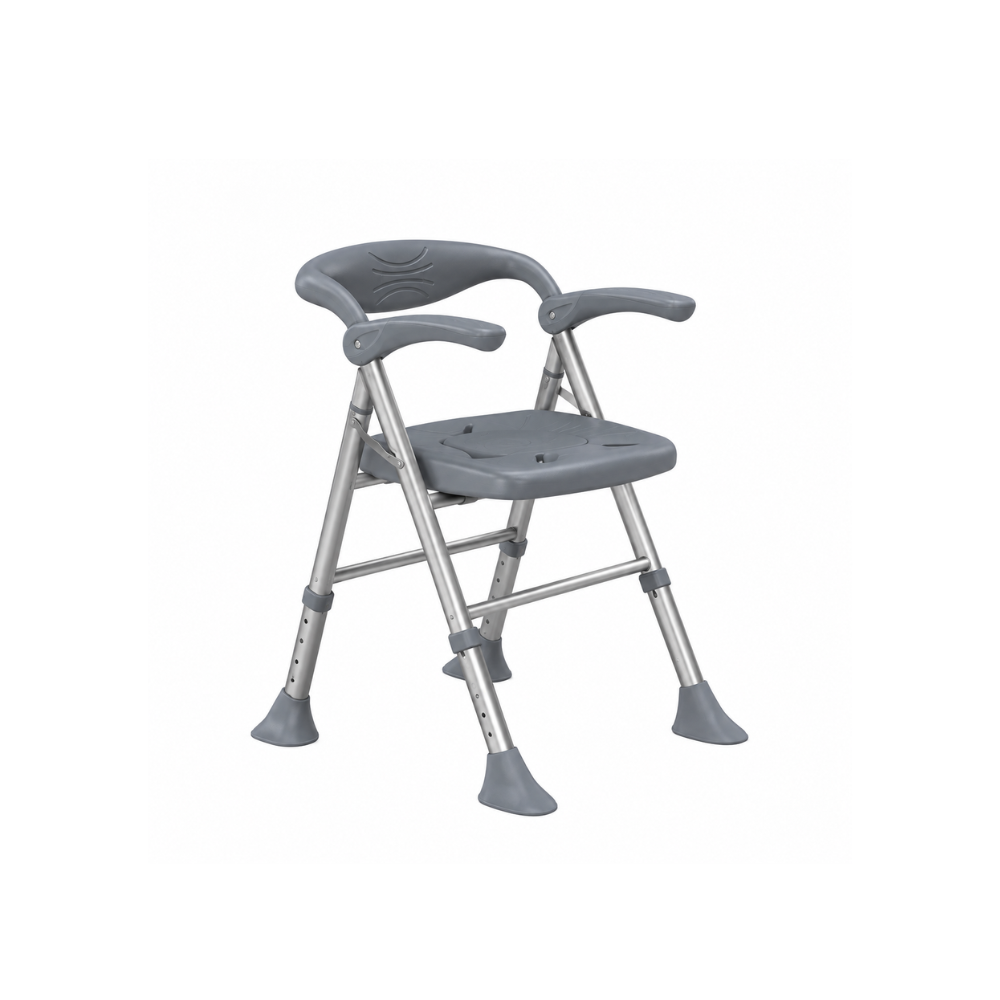
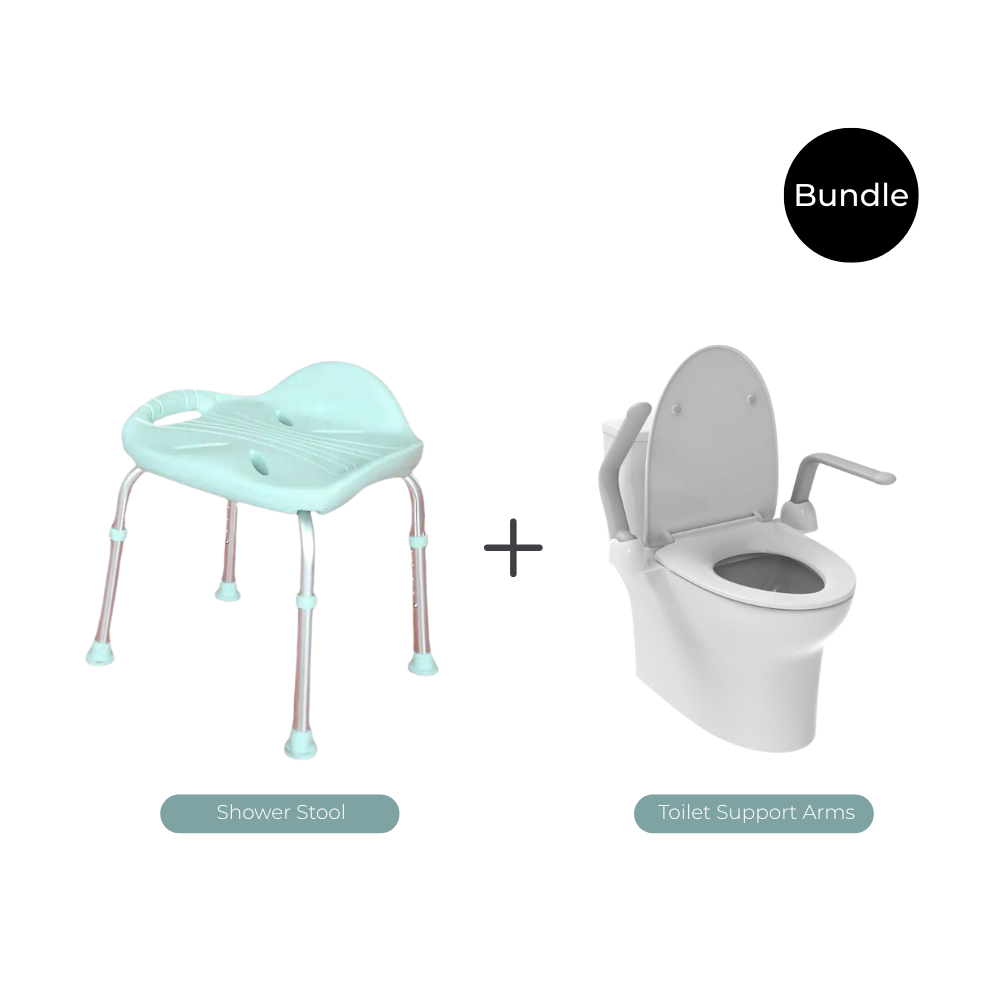
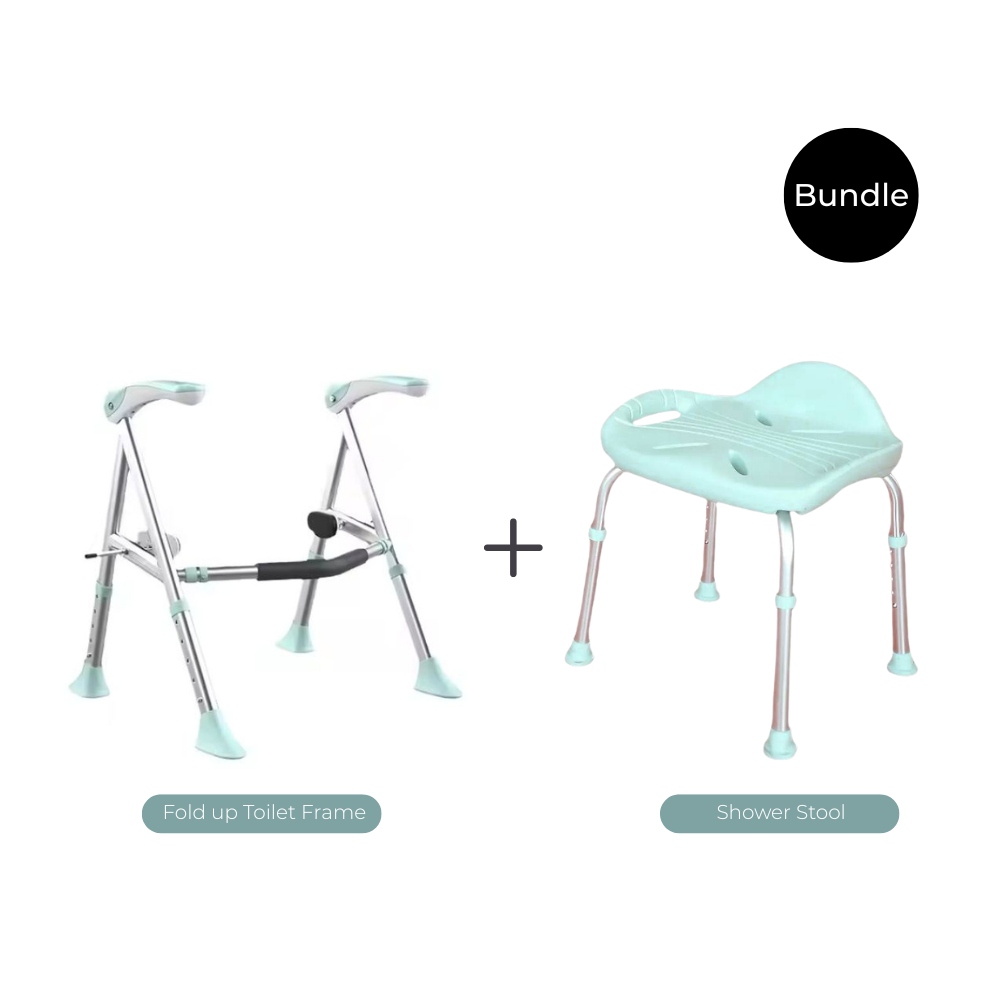
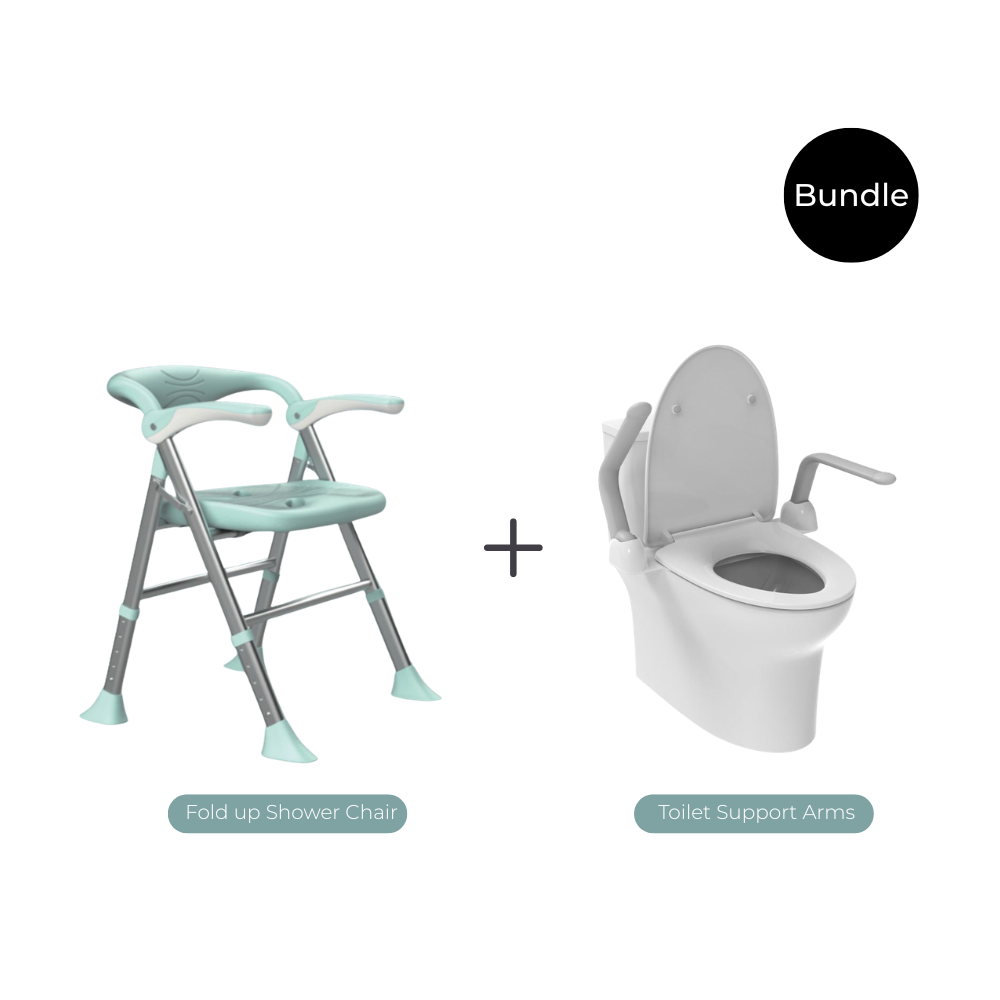
Wall-mounted and fold-up seats suit rooms where the seat is part of the permanent fit-out. Freestanding and portable shower chairs are the most popular seating Avail supplies, and they work well where users bring their own seating needs. If floor space is tight, a fold-up chair that stores away, such as the Avail Fold Up Shower Chair (S03C1G), keeps the circulation space clear. Whether a given seat type satisfies a given project depends on the brief and the certifier, so confirm that before ordering. Our Wall-Mounted vs Freestanding Shower Seats guide compares them in detail.
Tapware and hand shower check
The tapware and hand shower check confirms that controls are lever or sensor operated, that they can be reached from the seated position, and that the hand shower, slide rail and hose work together. Test every item from the seat, not from a standing position.
Controls
- Operation. Controls must be operable with a closed fist or one hand, without pinching, gripping or twisting. Lever or sensor controls meet this. Round knobs do not.
- Reach. From the seated position, the user must reach the controls without leaning across the wet floor or past the hand shower.
- Temperature. Confirm that the tempering valve is installed and commissioned. In aged care and healthcare settings, AS/NZS 3500.4 sets lower maximum delivery temperatures than a standard installation. Ask the plumber for the commissioning record.
- Labelling. Check that hot and cold identification is clear and tactile or high-contrast where specified.
Slide rail position
The slide rail must let the hand shower sit at a usable height for a seated user and still reach a standing one. Check that the top and bottom stops, and the holder, are accessible from the seat. Also check that the slide rail does not interrupt a grab rail (see continuity above). If it does, you have a clash that needs a layout fix, or a combined rail system that solves it. Our Accessible Hand Shower Placement guide covers positioning in detail.
Hose length
Pull the hose out from its holder while seated. It must reach the floor and the user's back without being fully stretched. A hose that is too short makes the hand shower unusable. A hose that is too long can tangle around the seat or a rail. Confirm the hose length in the supplier's data against the layout, and check the hose connection does not catch on the seat in its down position.
Hand shower
Test the hand shower for weight and grip. It should be light enough for a user with limited strength to hold, with a handle that can be gripped without pinching. Check that the holder lets the user take it out and put it back from the seat.
Common defects, the requirement breached and the fix
The table below lists the defects that most often fail inspection, the requirement area each one breaches and the usual fix. It names the requirement area, not a clause number. Take the clause number from your licensed copy of AS 1428.1 and enter it on your inspection record.
| Defect | Requirement breached | Fix |
|---|---|---|
| Horizontal rail set too low or too high | Grab rail height above finished floor | Re-fix at the correct height. Measure from the finished floor to the rail centreline. Fill and make good the old fixing holes. |
| Rail diameter outside the permitted range | Grab rail section | Replace with a rail within the permitted diameter. Do not try to adapt it. |
| Wall clearance too small or too large | Clearance between rail and wall | Replace brackets or the rail. Check wall tile build-up before re-fixing. |
| Seat blocks the rail in the down or stowed position | Grab rail continuity and usability | Move the seat or rail, or replace with a seat and rail system designed to work together. |
| Seat out of reach of the controls | Seat position relative to controls | Relocate the controls or the seat. Confirm with an OT sitting on the seat. |
| Seat height or depth out of range | Shower seat dimensions | Replace the seat or re-fix to the correct height and projection. |
| Controls out of seated reach | Control location and reach | Relocate tapware or fit a lever or sensor control within seated reach. |
| Knob-type or pinch-grip tapware | Control operation | Replace with lever or sensor tapware. |
| Non-compliant hand shower, hose too short or holder out of reach | Hand shower and slide rail | Replace with a hand shower, rail and hose set that works from the seat. |
| Smooth or polished rail finish | Slip-resistant grip surface | Replace the rail with a slip-resistant finish. |
| Rail loose, or backing missing | Fixing strength | Open the lining, fit backing and re-fix with the specified fixings. |
| Hob or lip at the shower threshold | Hob-free floor | Rework the floor, waterproofing and transition detail. |
| Door swings into the clear space | Circulation space | Re-hang the door or replace it with a sliding or outward-opening door. |
A pre-handover inspection: a rail a few millimetres out and a seat in the way
Consider a hypothetical aged care refurbishment. The builder is two days from practical completion. The OT and certifier walk the accessible shower with a tape measure and a checklist. This is a worked example of what an inspection can find, not a real client outcome.
What the inspection finds
The horizontal rail sits a few millimetres above the top of the permitted range. It was fixed while the floor was still being screeded, and the final tile build-up raised the floor slightly. Nobody remeasured. The rail is within a reasonable "looks right" tolerance. It is outside the actual requirement.
The seat is the second issue. When the OT sits on it and folds it down, the seat's hinge arm covers part of the rail. A user cannot slide a hand along that section. The seat meets its own dimensions and fails the shower.
The usual fix
The rail has to come off and be re-fixed. That means removing the fixings, making good the tiles, and in many cases re-grouting. The seat has to move too, because moving the rail alone may bring the clash back. The tiler, plumber and builder are all recalled, and the handover date moves.
How a combined rail avoids the rework
Now consider the same room specified with a combined grab rail and shower rail. The grab rail, slide rail and hand shower holder come as one unit. The relationship between them is set at manufacture rather than on site. The installer sets one height reference, rather than separately fixing a rail, a slide bar and a holder and hoping they line up. That removes the possibility of the slide rail interrupting the grab rail, and it cuts the number of measurements that can go wrong. You still have to check the finished floor height and the seat position. But two of the most common defects, a rail set at the wrong height relative to the shower rail and a clash between the two, are designed out. Our Combined Grab Rail and Shower Rail Benefits guide explains how this works.
Why the finished floor matters more than anything else on the checklist
Here is the position I hold after looking at how these defects arise: most failed accessible showers are sequencing failures, not knowledge failures. Installers know the numbers. The problem is when they measure.
Grab rails, seats and slide rails go in at first fix or early second fix. Floor tiling, falls and waterproofing finish later. Every fixture height is measured from the finished floor, but the installer is measuring from a surface that is about to change. A few millimetres of tile and adhesive is enough to push a rail out of a 20 mm range.
The fix is a process change, not more training. I recommend three habits:
- Mark heights from a datum, not from the floor. Fix a reference line on the wall once the floor level is confirmed, and set all fixtures from that line.
- Take dated photos of backing and heights before the lining is closed. They are evidence for the certifier and save opening walls.
- Do a handover measure on the finished floor, with the OT seated. The seated check catches what a tape measure does not: reach, clash and usability.
The other contrarian point: do not treat a compliant fixture list as a compliant shower. Fixtures are checked one at a time, but users experience them together. A compliant rail, seat and tapware set can still fail as a combination. The checklist below is built around relationships between fixtures for that reason.
Choosing compliant replacement fixtures
Compliant replacement fixtures arrive with dimensional data, load ratings and documentation that match the standard, and they are specified as a set that works together. Before you order, confirm the dimensions, the fixing method and the documentation. Then check the replacement against the existing layout.
- Get the dimensions first. Ask for the rail diameter, bracket projection (wall clearance), seat height and depth, hose length and slide rail travel before you commit.
- Ask for compliance documentation. You need it for the certifier, and it should be on file for the facility.
- Match the fixing pattern. A replacement rail with a different bracket spacing means new holes in finished tiles. Check this before ordering.
- Check the finish. Confirm the slip-resistant grip surface and the contrast with your wall colour.
- Consider a system. Where a rail, slide rail and hand shower have clashed, a combined system removes the clash by design.
- Choose seating to suit the room and the user. Wall-mounted and fold-up seats suit permanent fit-outs. Freestanding and portable chairs suit flexible use, and a fold-up chair keeps the floor clear where space is tight.
Avail Designs supplies compliant grab rails, shower seats, shower rail systems and accessible tapware. Contact the team for product specifications and compliance documentation before you order replacements.
Summary checklist: AS 1428.1 shower handover
Print this and take it on site. Record the measurement beside each item, and the clause number from your licensed copy of the standard. Dimensions are from AS 1428.1-2009 including amendments. Confirm with your certifier which edition applies to your project.
Circulation and recess
- [ ] Finished recess size measured tile face to tile face and matches the design
- [ ] Clear circulation space marked on the floor and free of fixtures
- [ ] No hob, lip or step between the bathroom floor and the shower floor
- [ ] Falls to the waste are gentle and do not change fixture heights
- [ ] Door swing is clear of the circulation space
Grab rails
- [ ] Every horizontal rail is 800 mm to 820 mm above the finished floor, measured to the centreline at both ends and the middle
- [ ] Diameter is 30 mm to 40 mm
- [ ] Wall clearance is 50 mm to 60 mm at both brackets and along the span
- [ ] Rails are continuous with no soap holder, bracket, hinge or tile edge interrupting the grip
- [ ] Backing photographed before the lining was closed, and rail has no movement under load
- [ ] Fixings match the supplier's specification for the wall type
- [ ] Slip-resistant finish confirmed when wet
- [ ] Supplier compliance and load documentation on file
Shower seat
- [ ] Seat height and depth match the standard
- [ ] Seat surface sheds water and does not pool
- [ ] Fold-up seat moves freely and does not catch on the rail, tiles or tapware
- [ ] Stowed seat is clear of the circulation space
- [ ] Seat does not block any rail in the down or stowed position
- [ ] Seat is within reach of the controls and hand shower, tested seated
- [ ] Load rating meets the brief and is documented
Tapware and hand shower
- [ ] Lever or sensor controls, operable with one hand and no pinching
- [ ] Controls reachable from the seated position
- [ ] Tempering valve commissioned, with a record on file
- [ ] Slide rail does not interrupt a grab rail
- [ ] Hand shower and holder reachable and usable from the seat
- [ ] Hose reaches the floor and the user's back without tangling
Sign-off
- [ ] Any substitution since the fixture schedule was approved has been re-checked against the standard
- [ ] Photos, measurements and documentation filed for the certifier and facility manager
References
- Standards Australia. AS 1428.1-2009 Design for access and mobility, Part 1: General requirements for access, New building work (including amendments). https://www.standards.org.au
- Australian Government. Disability (Access to Premises, Buildings) Standards 2010. Federal Register of Legislation. https://www.legislation.gov.au
- Australian Building Codes Board. National Construction Code. https://ncc.abcb.gov.au
- Standards Australia and Standards New Zealand. AS/NZS 3500.4 Plumbing and drainage, Heated water services. https://www.standards.org.au


